Other Providers
Palmr supports custom OIDC (OpenID Connect) and OAuth 2.0 providers, allowing you to integrate with any identity provider that follows these standards. This flexibility enables organizations to use their existing identity infrastructure, whether it's a custom authentication system, enterprise SSO solution, or any other OIDC-compliant provider.
Why use custom OIDC providers?
Custom OIDC providers offer several advantages for organizations with specific authentication requirements:
- Flexibility - Integrate with any OIDC-compliant identity provider
- Enterprise integration - Connect with existing enterprise SSO systems
- Custom authentication flows - Support for specialized authentication requirements
- No vendor lock-in - Use your preferred identity provider
- Compliance - Meet specific security and compliance requirements
Prerequisites
Before configuring a custom OIDC provider, ensure you have:
- OIDC/OAuth 2.0 provider - A working identity provider that supports OIDC or OAuth 2.0
- Admin privileges in Palmr - Required to configure authentication settings
- Provider documentation - Access to your provider's OIDC configuration details
Note: The configuration process requires technical knowledge of OIDC/OAuth 2.0 standards. You'll need to obtain the necessary credentials and endpoints from your identity provider.
Understanding OIDC Configuration
Configuration Methods
Palmr supports two methods for configuring custom providers:
1. Auto Discovery
For providers that support OIDC Discovery, Palmr can automatically discover the required endpoints using the issuer URL.
Requirements:
- Provider must support OIDC Discovery
- Issuer URL must be accessible
- Provider must expose a
.well-known/openid_configurationendpoint
2. Manual Endpoint Configuration (Recommended)
For providers that don't support OIDC Discovery or require custom endpoints.
Required endpoints:
- Authorization endpoint
- Token endpoint
- User info endpoint
Required Information
You'll need the following information from your identity provider:
- Provider URL/Issuer URL - The base URL of your identity provider
- Client ID - The OAuth client identifier
- Client Secret - The OAuth client secret
- Scopes - The OAuth scopes required for authentication
- Endpoints (if using manual configuration):
- Authorization endpoint
- Token endpoint
- User info endpoint
Configuring Palmr
Accessing Authentication Settings
To configure a custom OIDC provider in Palmr, you need administrator access to the settings panel.
-
Login as administrator: Sign in to Palmr with an admin account
-
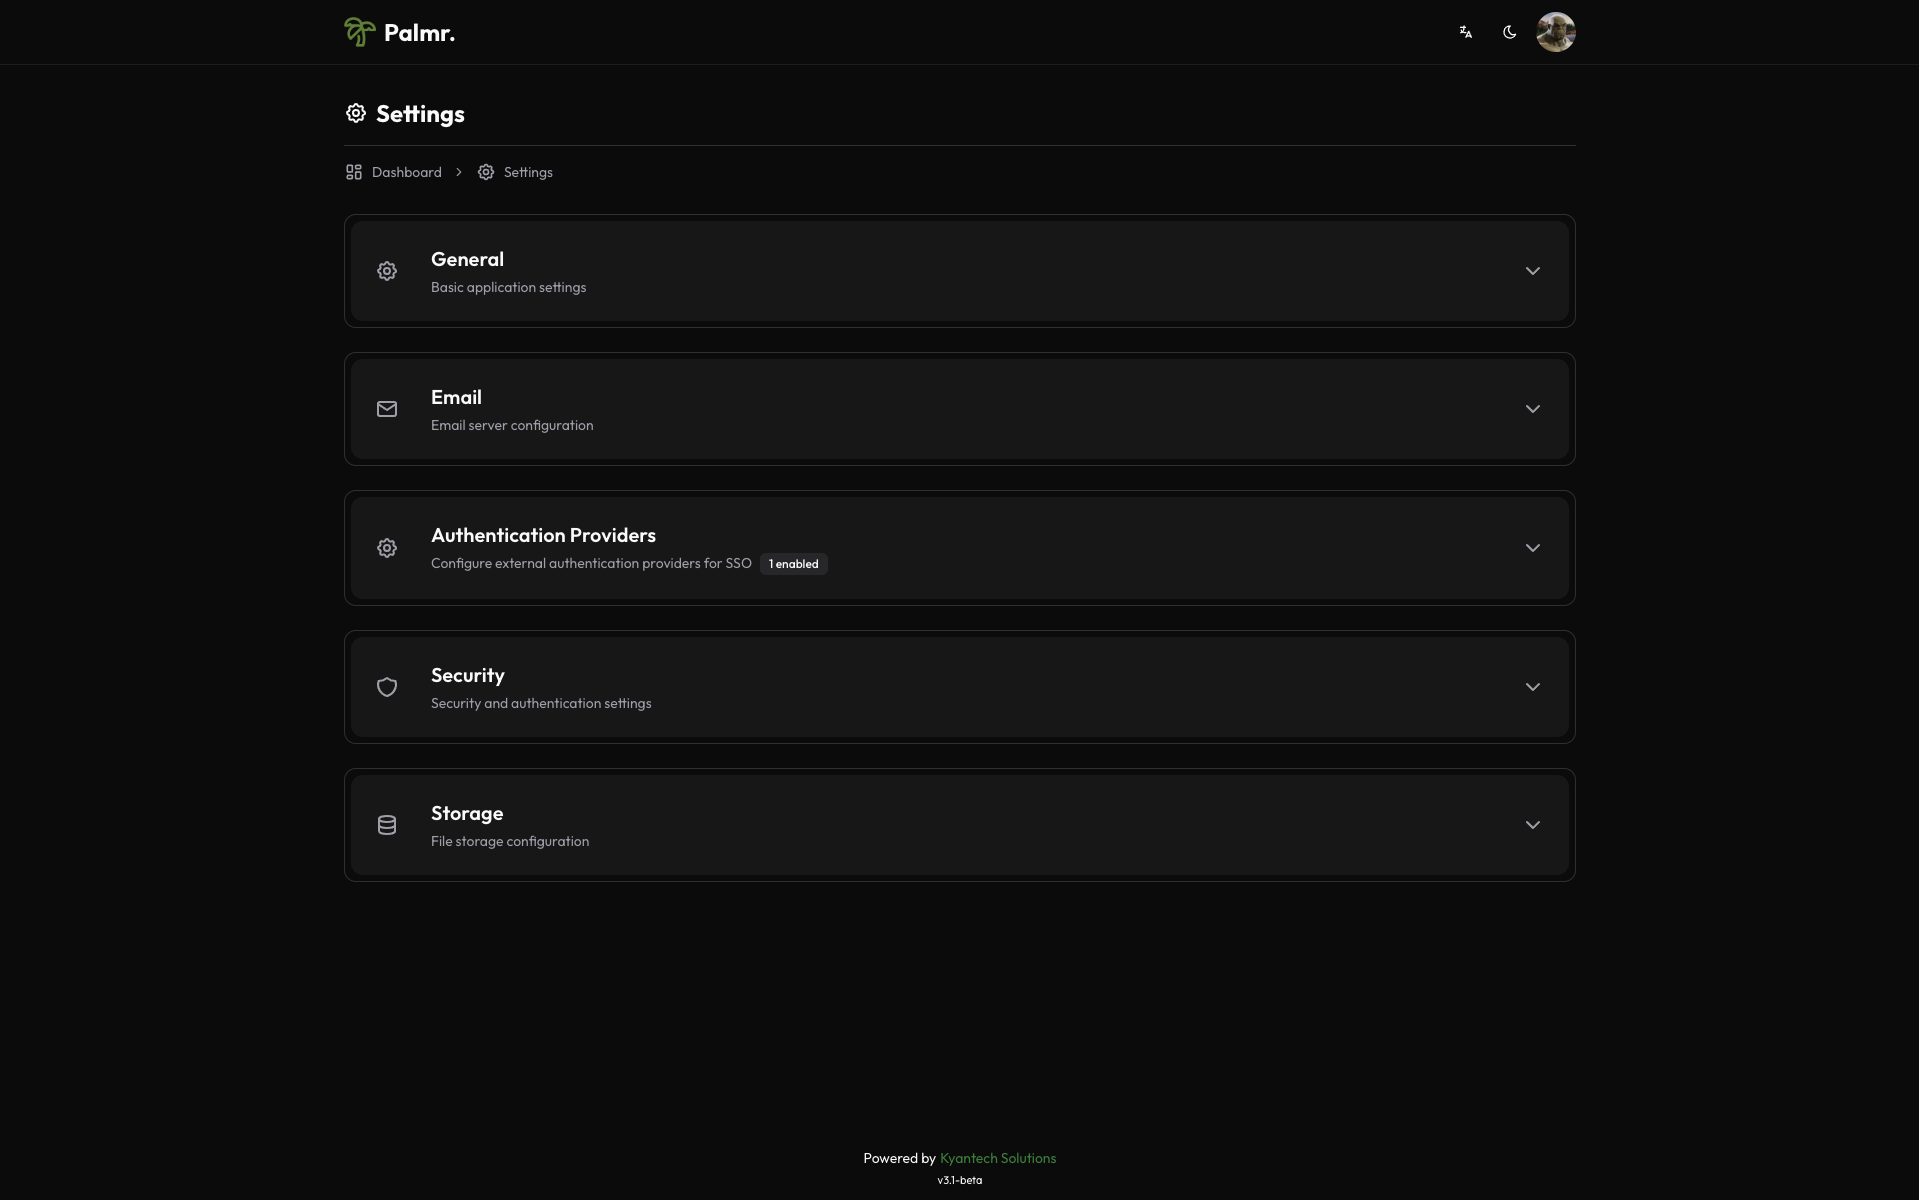
Access settings: Click your profile picture in the header and select Settings
-
Navigate to authentication: Find and click on the Authentication Providers configuration section
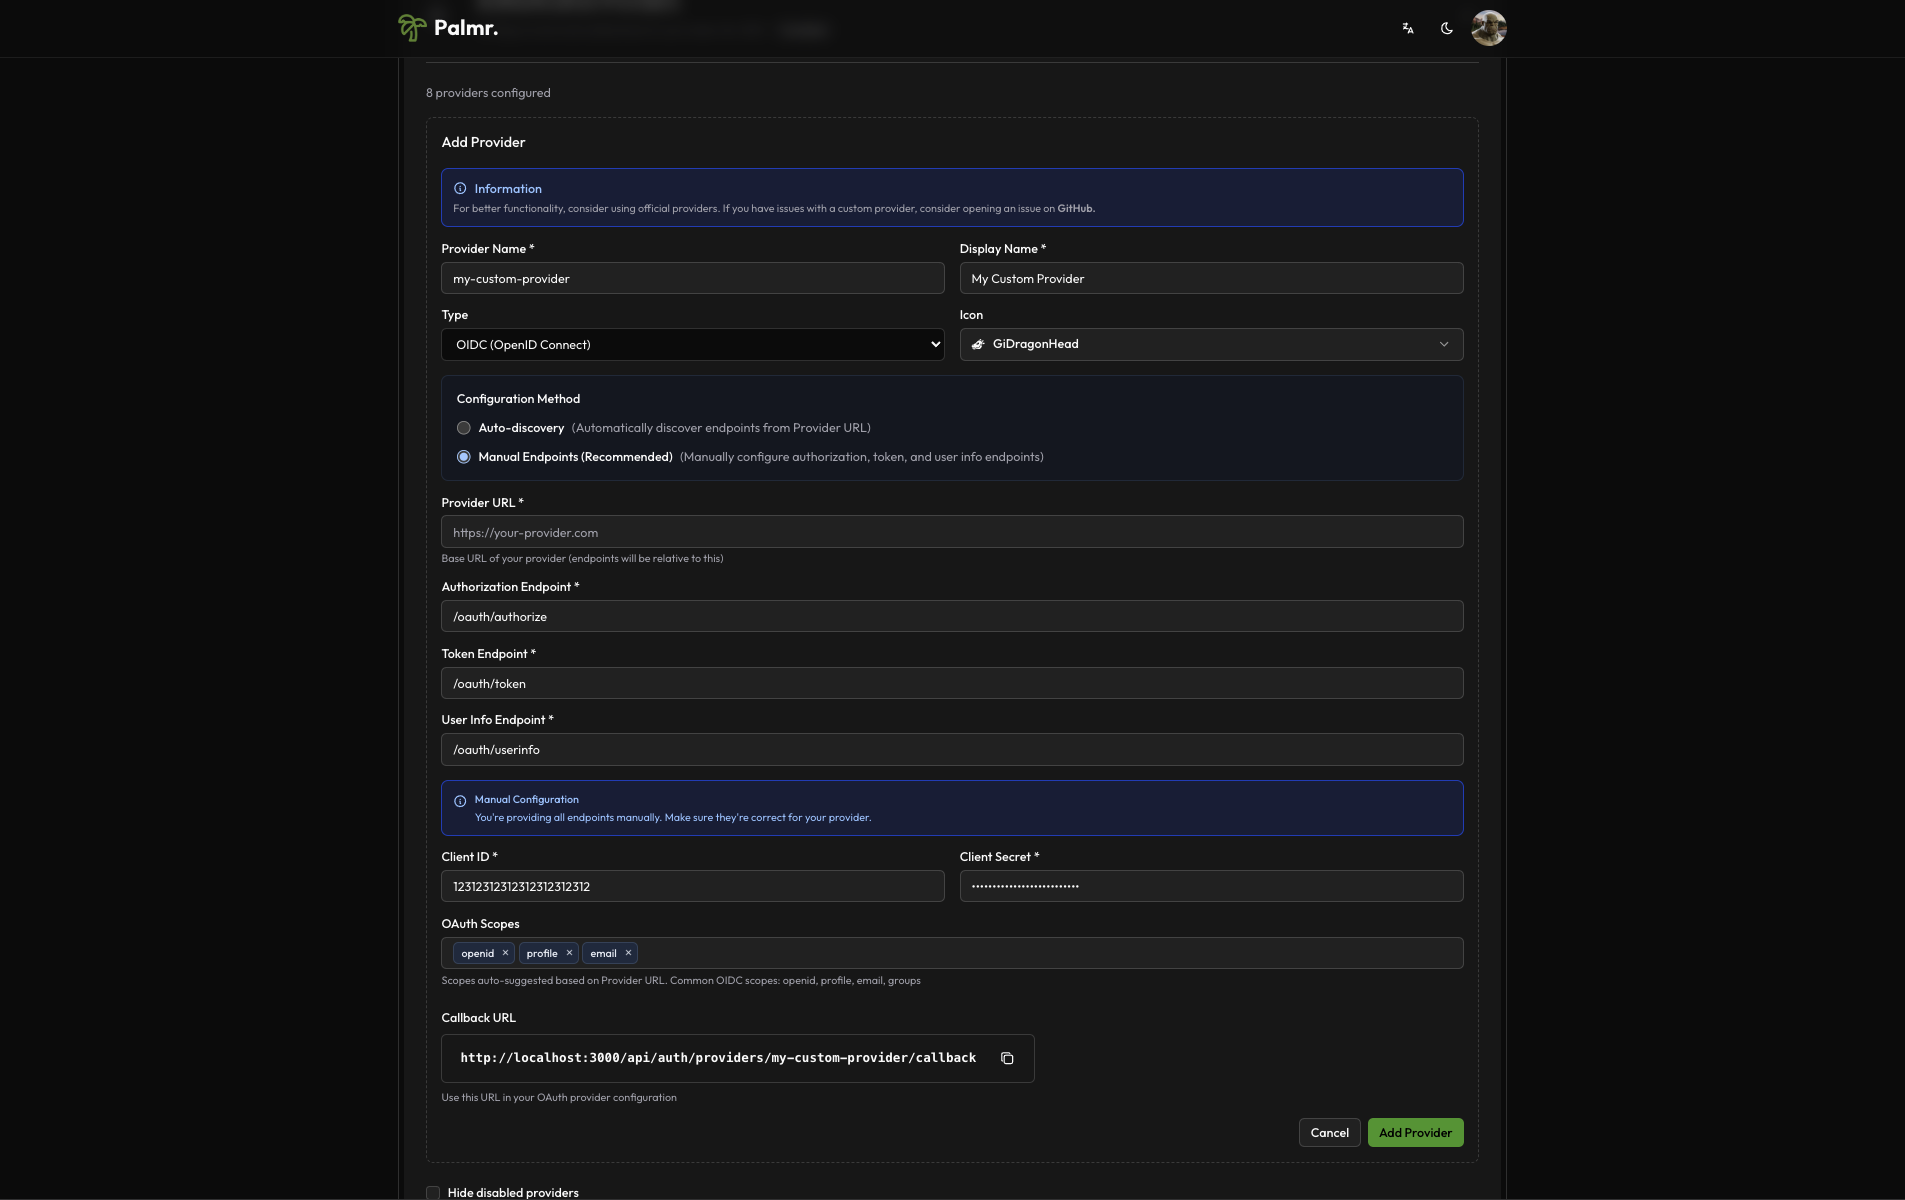
Adding a Custom Provider
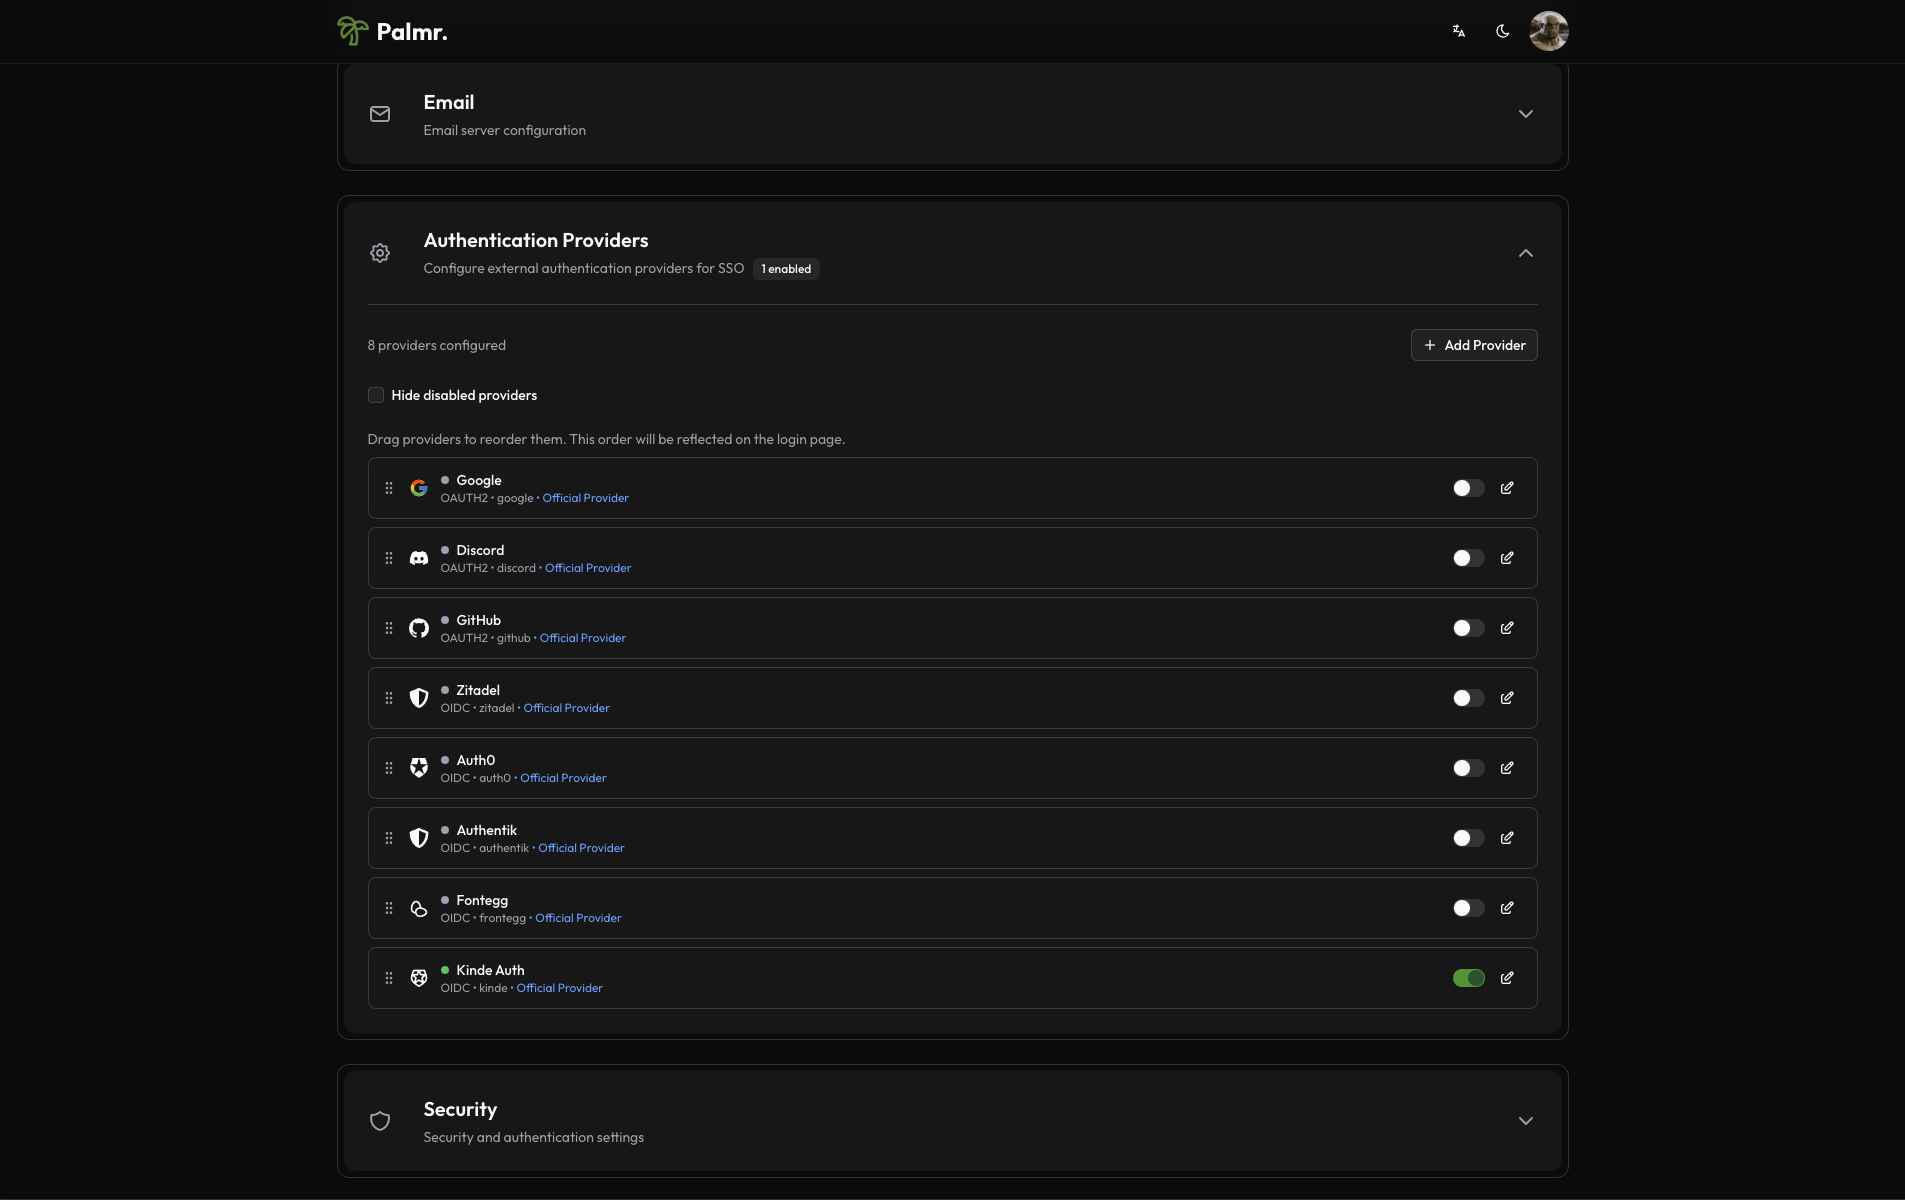
- Add new provider: Click the "Add Provider" button in the Authentication Providers section
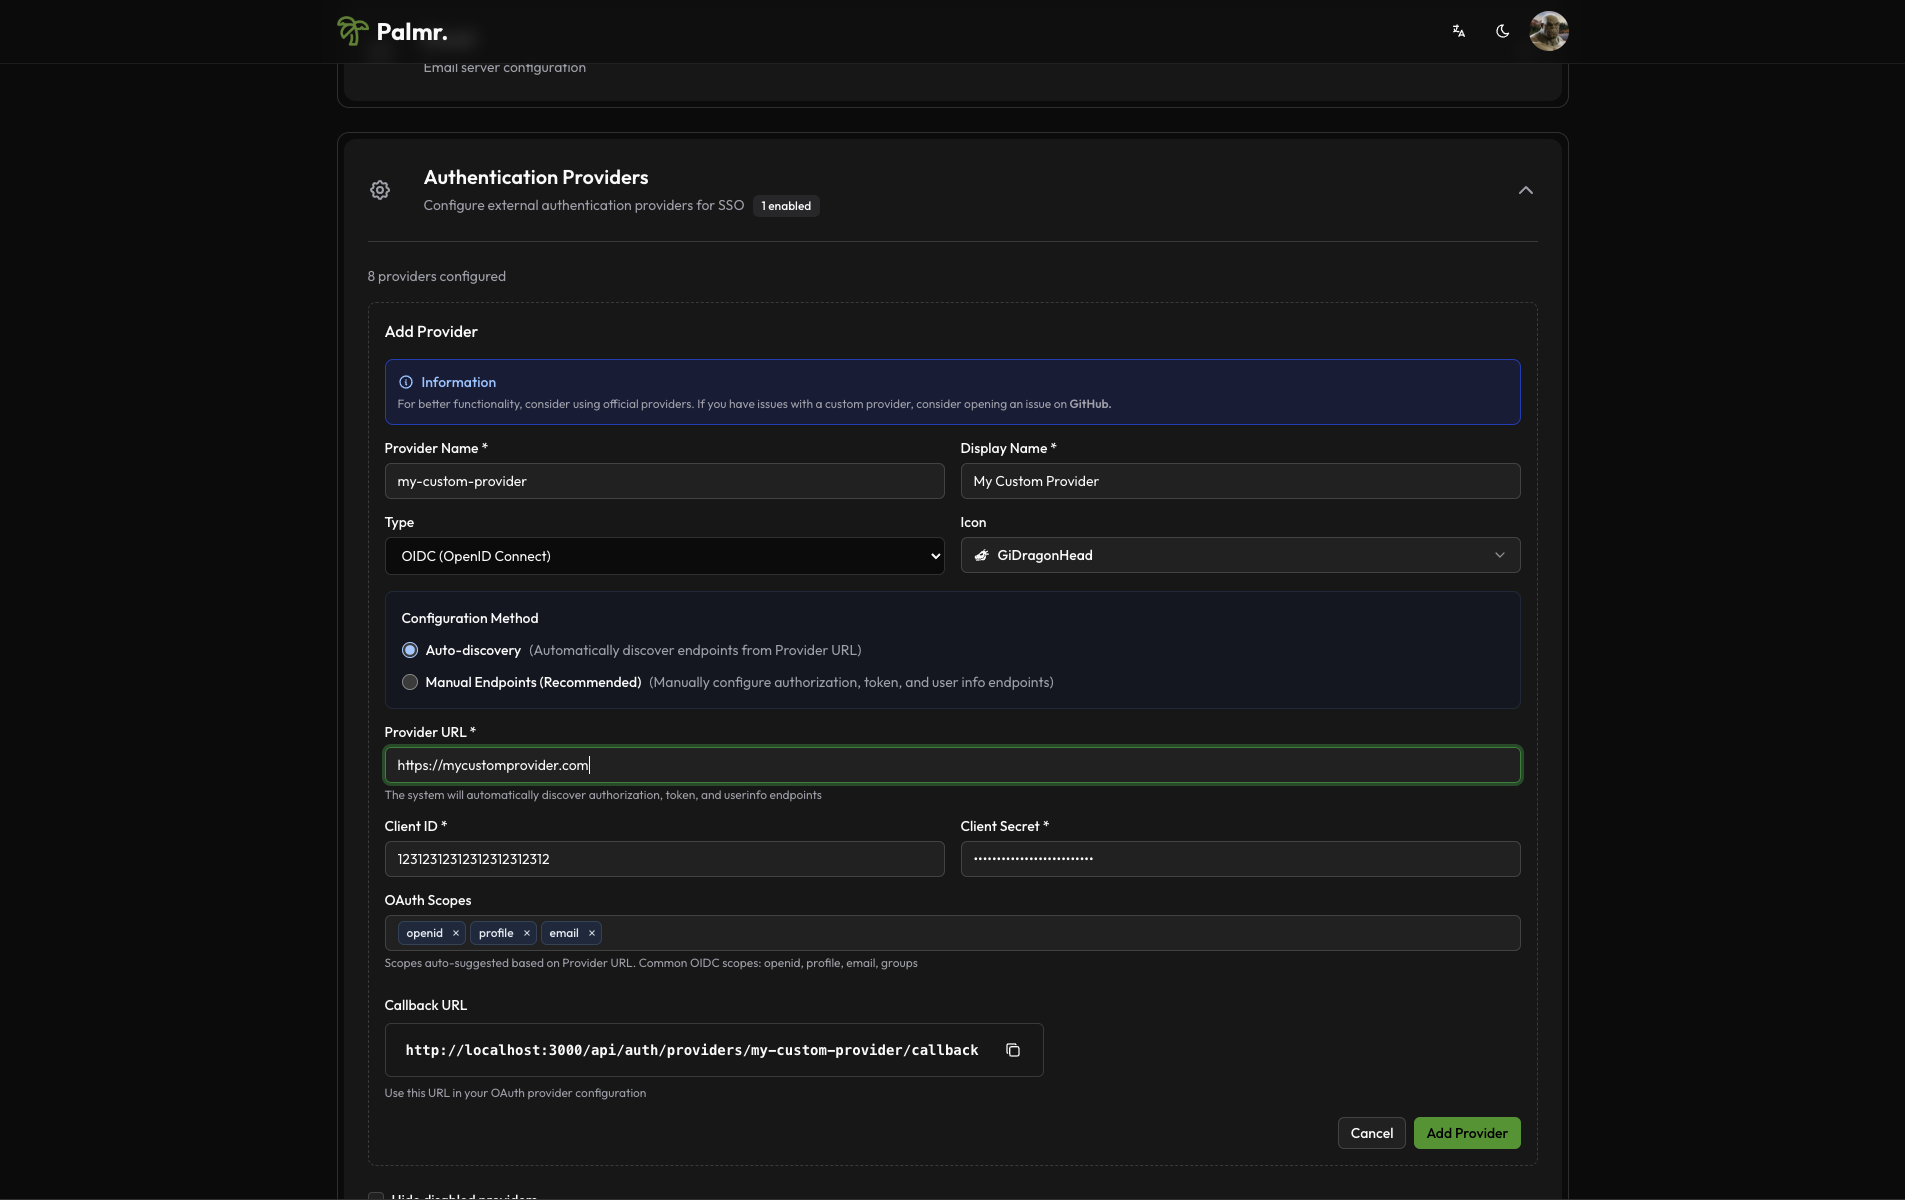
- Configure basic information:
- Provider Name: Enter a unique identifier (e.g.,
custom-provider) - Display Name: Enter the name users will see (e.g.,
Custom SSO) - Type: Select
OIDCfor OpenID Connect orOAuth2for OAuth 2.0 - Icon: Choose an appropriate icon for the login button
- Provider Name: Enter a unique identifier (e.g.,
Configuration Method Selection
Choose between auto discovery and manual endpoint configuration:
Auto Discovery Configuration
- Select Auto Discovery: Choose the "Auto Discovery" option
- Provider URL: Enter your identity provider's issuer URL (e.g.,
https://your-provider.com) - Palmr will try to automatically discover:
- Authorization endpoint
- Token endpoint
- User info endpoint
- Supported scopes
Note: If the auto discovery fails, you can switch to manual endpoint configuration and fill the endpoints manually (recommended).
Manual Endpoint Configuration
- Select Manual Endpoints: Choose the "Manual Endpoints" option
- Provider URL: Enter your identity provider's base URL
- Configure endpoints:
- Authorization Endpoint: The OAuth authorization endpoint
- Token Endpoint: The OAuth token endpoint
- User Info Endpoint: The user information endpoint
Note:
User info endpointcan be a full URL or a relative path. (e.g./userinfoorhttps://other-any-url.com/userinfo) Note:Token endpointandAuthorization endpointmust be just the path. (e.g./oauth/tokenor/oauth/authorize), Palmr will automatically add the base URL to the endpoints based on theProvider URLyou provided.
OAuth Credentials
Configure the OAuth credentials obtained from your identity provider:
- Client ID: Enter the OAuth client identifier
- Client Secret: Enter the OAuth client secret
- Scopes: Configure the required OAuth scopes
Common OIDC scopes:
openid- Required for OIDCprofile- Access to user profile informationemail- Access to user email address
Common OAuth 2.0 scopes:
profile- Access to user profile informationemail- Access to user email address
Advanced Configuration
Configure additional settings to customize the authentication behavior:
Auto Registration: Enable this to automatically create user accounts when someone authenticates for the first time.
Admin Email Domains: Specify domains that should automatically receive admin privileges. For example, entering yourcompany.com will grant admin access to anyone with an email from that domain.
Sort Order: Control where the custom provider login button appears relative to other authentication providers.
Callback URL Configuration
Palmr will display the required callback URL that you need to configure in your identity provider:
Callback URL Format
Environment-specific URLs
| Environment | Callback URL |
|---|---|
| Production | https://yourdomain.com/api/auth/providers/custom-provider/callback |
| Development | http://localhost:3000/api/auth/providers/custom-provider/callback |
| Custom Port | https://yourdomain.com:5487/api/auth/providers/custom-provider/callback |
Important: Replace
yourdomain.comwith your actual domain andcustom-providerwith your actual provider name.
Final Considerations
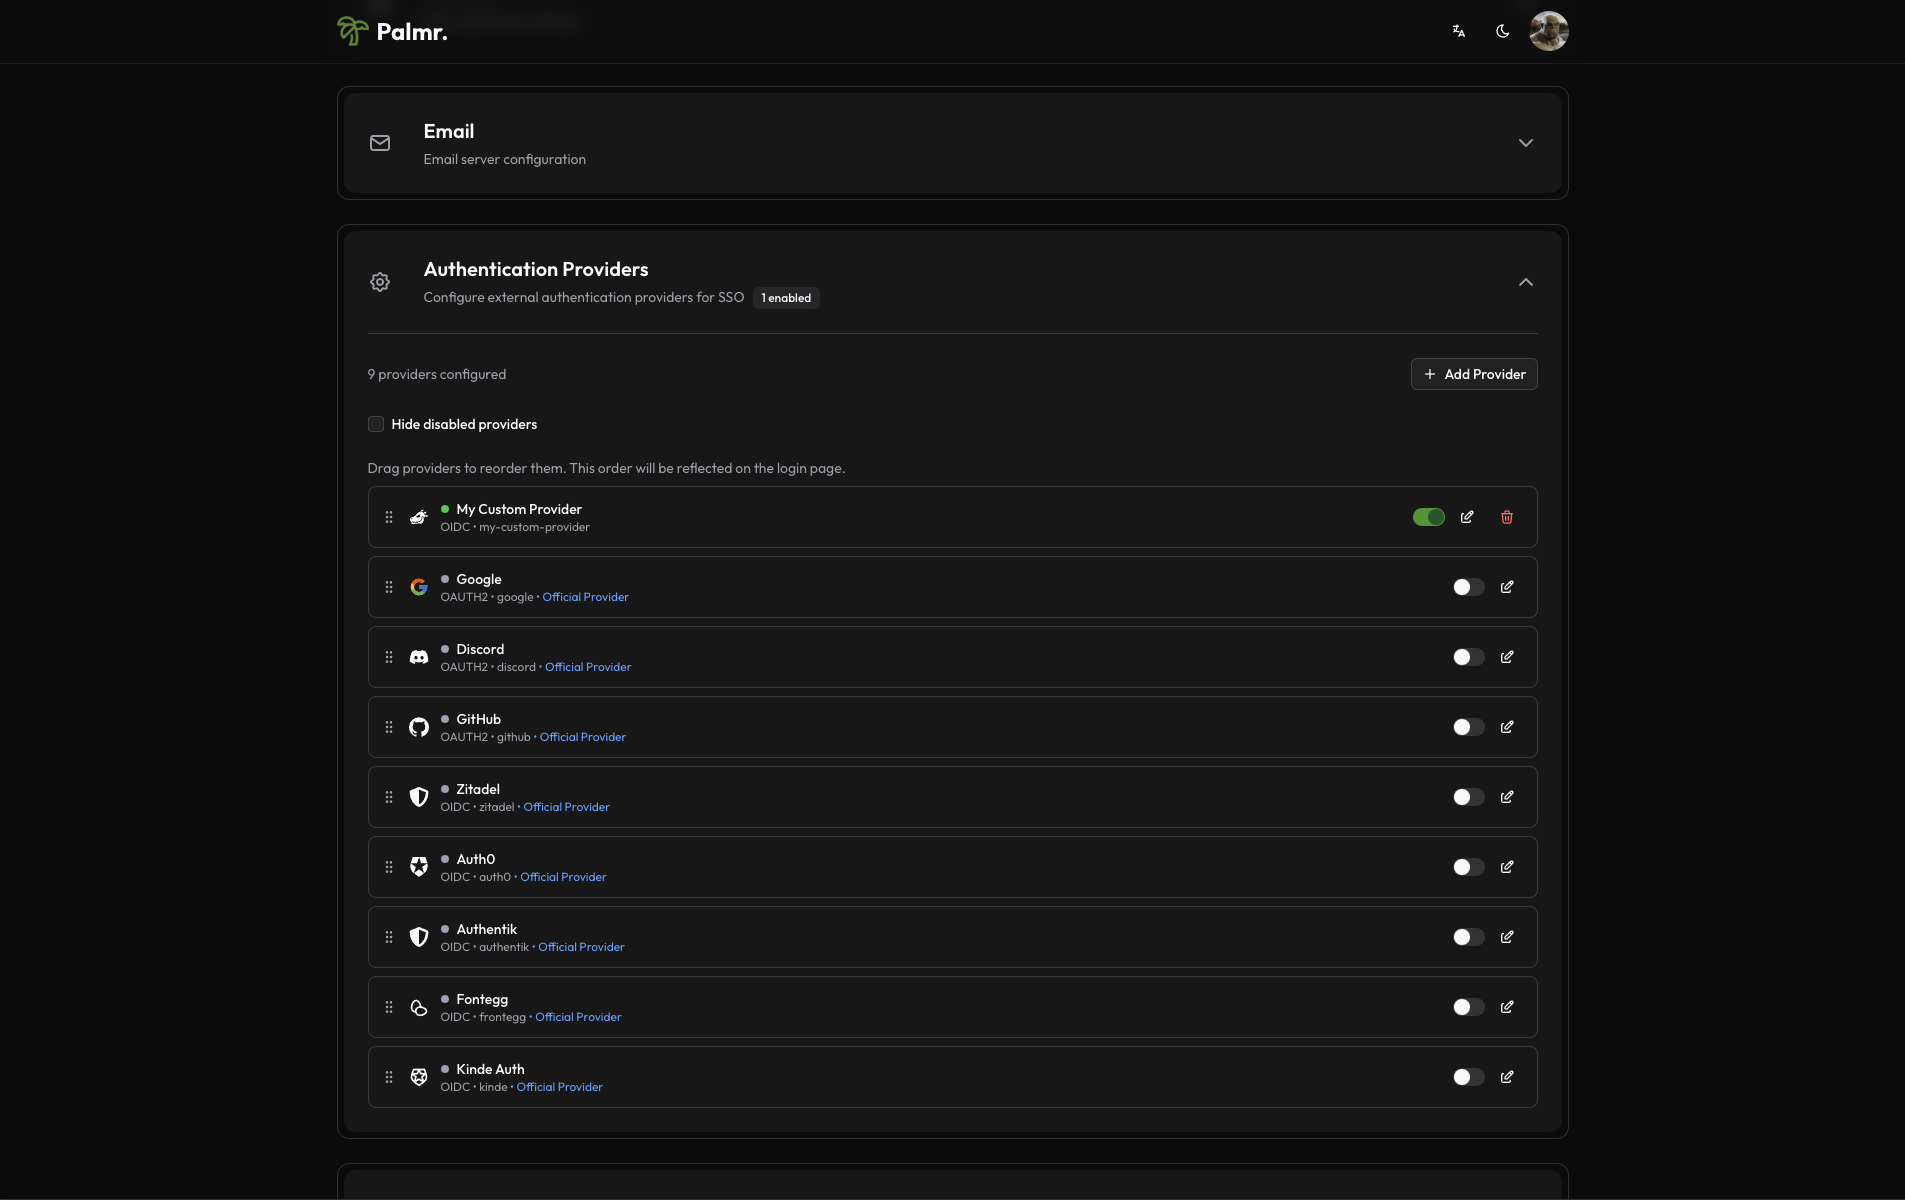
Note: Don't forget enable your provider in the
Authentication Providerssection after add it.
After configuring your custom provider, it will be available in the Authentication Providers section.
Testing the Configuration
Verifying the Setup
After configuring your custom provider, test the integration to ensure everything works correctly.
-
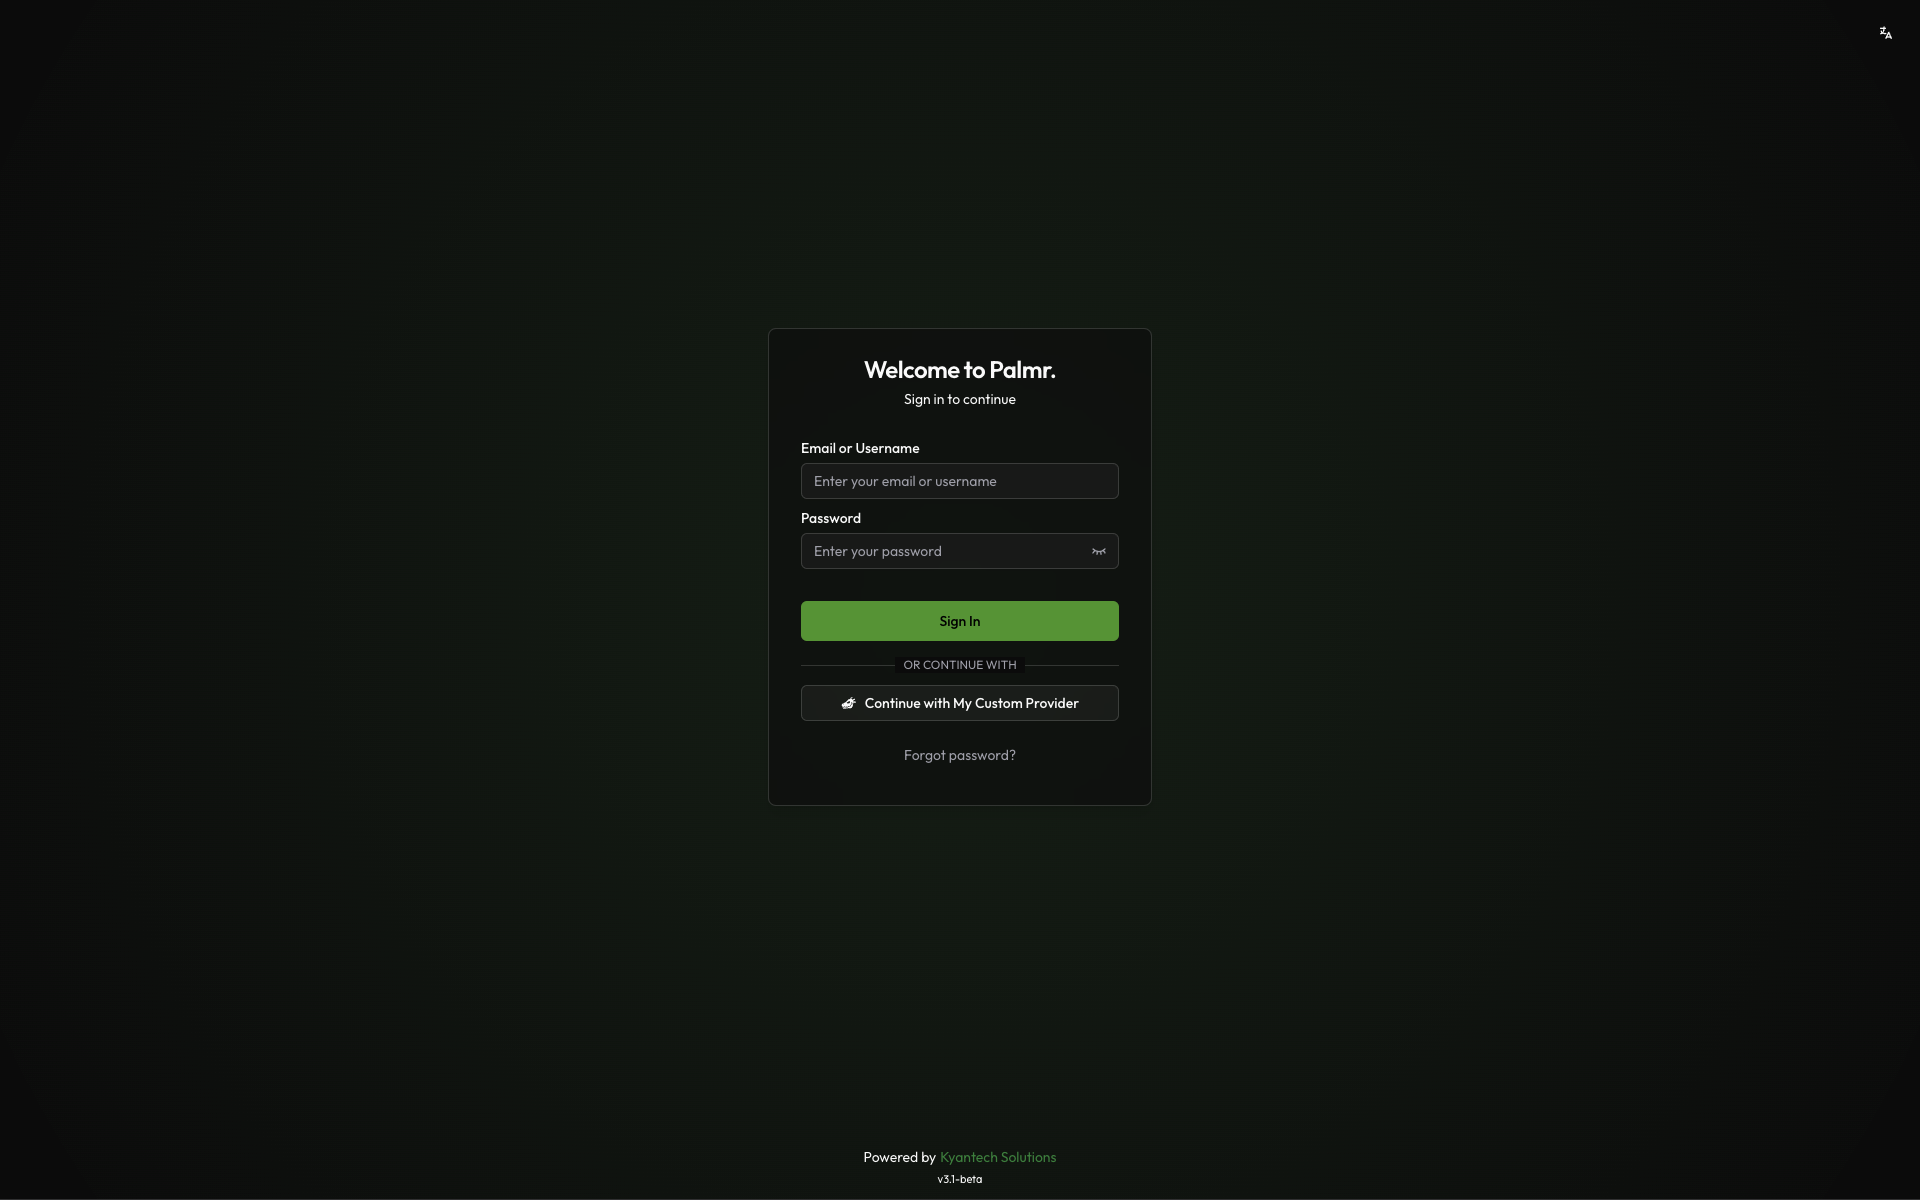
Check login page: Navigate to your Palmr login page and verify your custom provider button appears
-
Test authentication flow: Click the custom provider sign-in button and complete the authentication process
-
Verify user creation: Confirm that a new user account is created (if auto-registration is enabled)
Troubleshooting
Common issues and solutions:
"Invalid redirect URI" error:
- Verify the callback URL is correctly configured in your identity provider
- Ensure the provider name in the callback URL matches your configured provider name
"Invalid client credentials" error:
- Verify the Client ID and Client Secret are correct
- Ensure the credentials are for the correct application/environment
"Invalid scope" error:
- Verify the configured scopes are supported by your identity provider
- Check that required scopes (like
openidfor OIDC) are included
"User info endpoint error":
- Verify the user info endpoint URL is correct
- Ensure the endpoint returns the expected user information format
Security Considerations
When configuring custom OIDC providers, consider the following security best practices:
Credential Security
- Secure storage: Ensure Client Secrets are stored securely
- Regular rotation: Rotate Client Secrets periodically
- Environment separation: Use different credentials for development and production
Provider Security
- HTTPS only: Ensure all endpoints use HTTPS in production
- Valid certificates: Verify SSL certificates are valid and trusted
- Access controls: Implement appropriate access controls on your identity provider
Palmr Configuration
- Admin access: Restrict access to authentication settings to authorized administrators
- Audit logging: Monitor authentication events and user access
- Regular testing: Periodically test the authentication flow
Account Linking
By default, if a user is already registered in Palmr with their email address, they will be automatically linked to their account when they authenticate through your custom provider.
Note: You can't disable account linking. If you want to unlink a user from their custom provider account, you need to delete the user from Palmr.
Technical Configuration
OIDC Discovery
If your provider supports OIDC Discovery, Palmr will automatically fetch the configuration from:
This endpoint should return a JSON document containing:
Manual Configuration
For manual endpoint configuration, ensure your endpoints follow OAuth 2.0/OIDC standards:
- Authorization Endpoint: Handles user authentication and authorization
- Token Endpoint: Exchanges authorization codes for access tokens
- User Info Endpoint: Returns user information using the access token
Support and Troubleshooting
If you encounter issues with your custom OIDC provider configuration:
- Check provider documentation: Verify your configuration against your provider's documentation
- Review logs: Check Palmr server logs for detailed error messages
- Test endpoints: Verify all endpoints are accessible and return expected responses
- Community support: Seek help from the Palmr community or your provider's support team
Note: Custom provider configurations require technical expertise in OIDC/OAuth 2.0. Ensure you have access to your provider's technical documentation and support resources.
Requesting Provider Support
If you've successfully configured a custom OIDC provider and would like to request it to be added as an officially supported provider in Palmr, you can open a detailed issue with all the necessary configuration information.
Why Request Official Support?
Having your provider officially supported offers several benefits:
- Easier setup - Pre-configured providers require minimal configuration
- Better documentation - Official setup guides and troubleshooting
- Community support - Others can benefit from your configuration
- Maintenance - The Palmr team maintains and updates the provider
Before Opening an Issue
Ensure you have:
- Working configuration - Your provider must be fully functional and tested
- Complete documentation - All setup steps and requirements documented
- Provider information - All necessary URLs, endpoints, and configuration details
- Testing completed - Thoroughly tested authentication flow and user management
Issue Template
Use the following template when opening your issue. Copy and paste it, then fill in all the required information:
What Happens Next?
- Issue Review - The Palmr team will review your request
- Additional Questions - You may be asked for more information
- Implementation - If approved, the provider will be added to Palmr
- Documentation - Official documentation will be created
- Release - The provider will be available in the next release
Tips for a Successful Request
- Be thorough - Include all necessary information
- Test everything - Ensure your configuration works completely
- Provide screenshots - Visual aids help with implementation
- Document clearly - Write clear, step-by-step instructions
- Check existing providers - Make sure your provider isn't already supported
Need Help?
If you need assistance with your request:
- Check existing issues - Review other provider requests for examples
- Join the community - Participate in discussions and ask questions
- Read the documentation - Ensure you understand the OIDC/OAuth requirements