Kinde Auth
Kinde Auth is one of Palmr's officially supported OIDC providers, offering modern authentication through Kinde's developer-friendly identity platform. This integration allows users to sign in to Palmr using Kinde's comprehensive authentication system, making it perfect for developers, startups, and organizations that need a modern, scalable authentication solution with excellent developer experience.
Why use Kinde Auth authentication?
Kinde Auth authentication provides several advantages for modern applications and development teams:
- Developer-first experience - Clean APIs, comprehensive SDKs, and excellent documentation
- Modern authentication - Built with modern web standards and best practices
- Scalable infrastructure - Enterprise-grade reliability with startup-friendly pricing
- Compliance ready - Built-in compliance with GDPR, SOC 2, and other standards
- Advanced features - Multi-factor authentication, social logins, and custom branding
Prerequisites
Before configuring Kinde Auth authentication, ensure you have:
- Kinde account - Ability to create applications and manage tenants
- Admin privileges in Palmr - Required to configure OIDC settings
- Domain configuration - For production deployments with custom domains
Note: Kinde Auth is pre-configured as an official provider in Palmr, which means the technical configuration is handled automatically. You only need to provide your OAuth credentials.
Setting up Kinde Auth Application
Creating a Kinde application
To get started with Kinde Auth authentication, you'll need to create an application in your Kinde Dashboard.
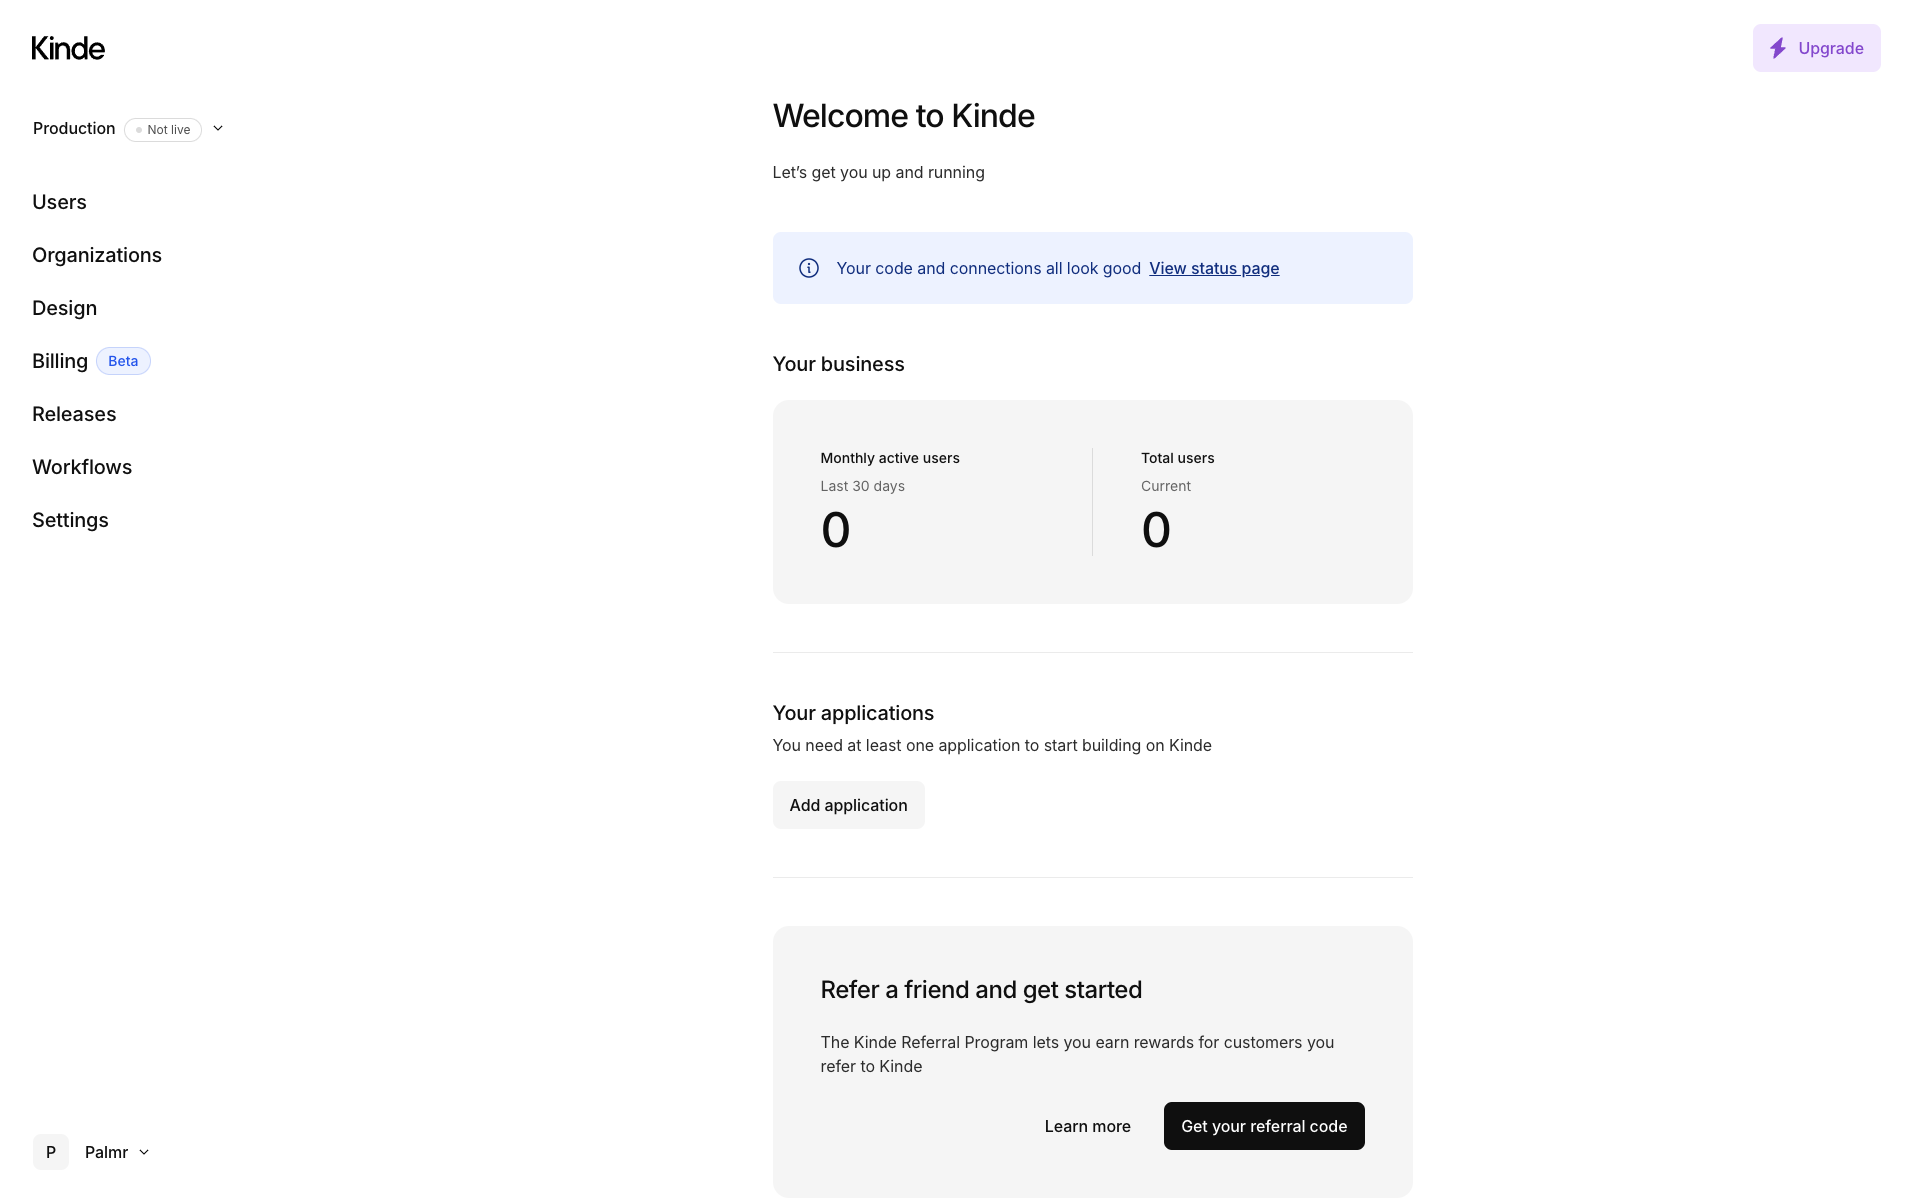
- Navigate to Kinde Dashboard: Go to your-tenant.kinde.com/admin
-
Create new application: Click "Add application" button in the center of the page.
-
Select application type: Choose "Back-end web" for web-based Palmr instances
-
Enter application details:
- Name: Enter a descriptive name like "Palmr File Sharing"
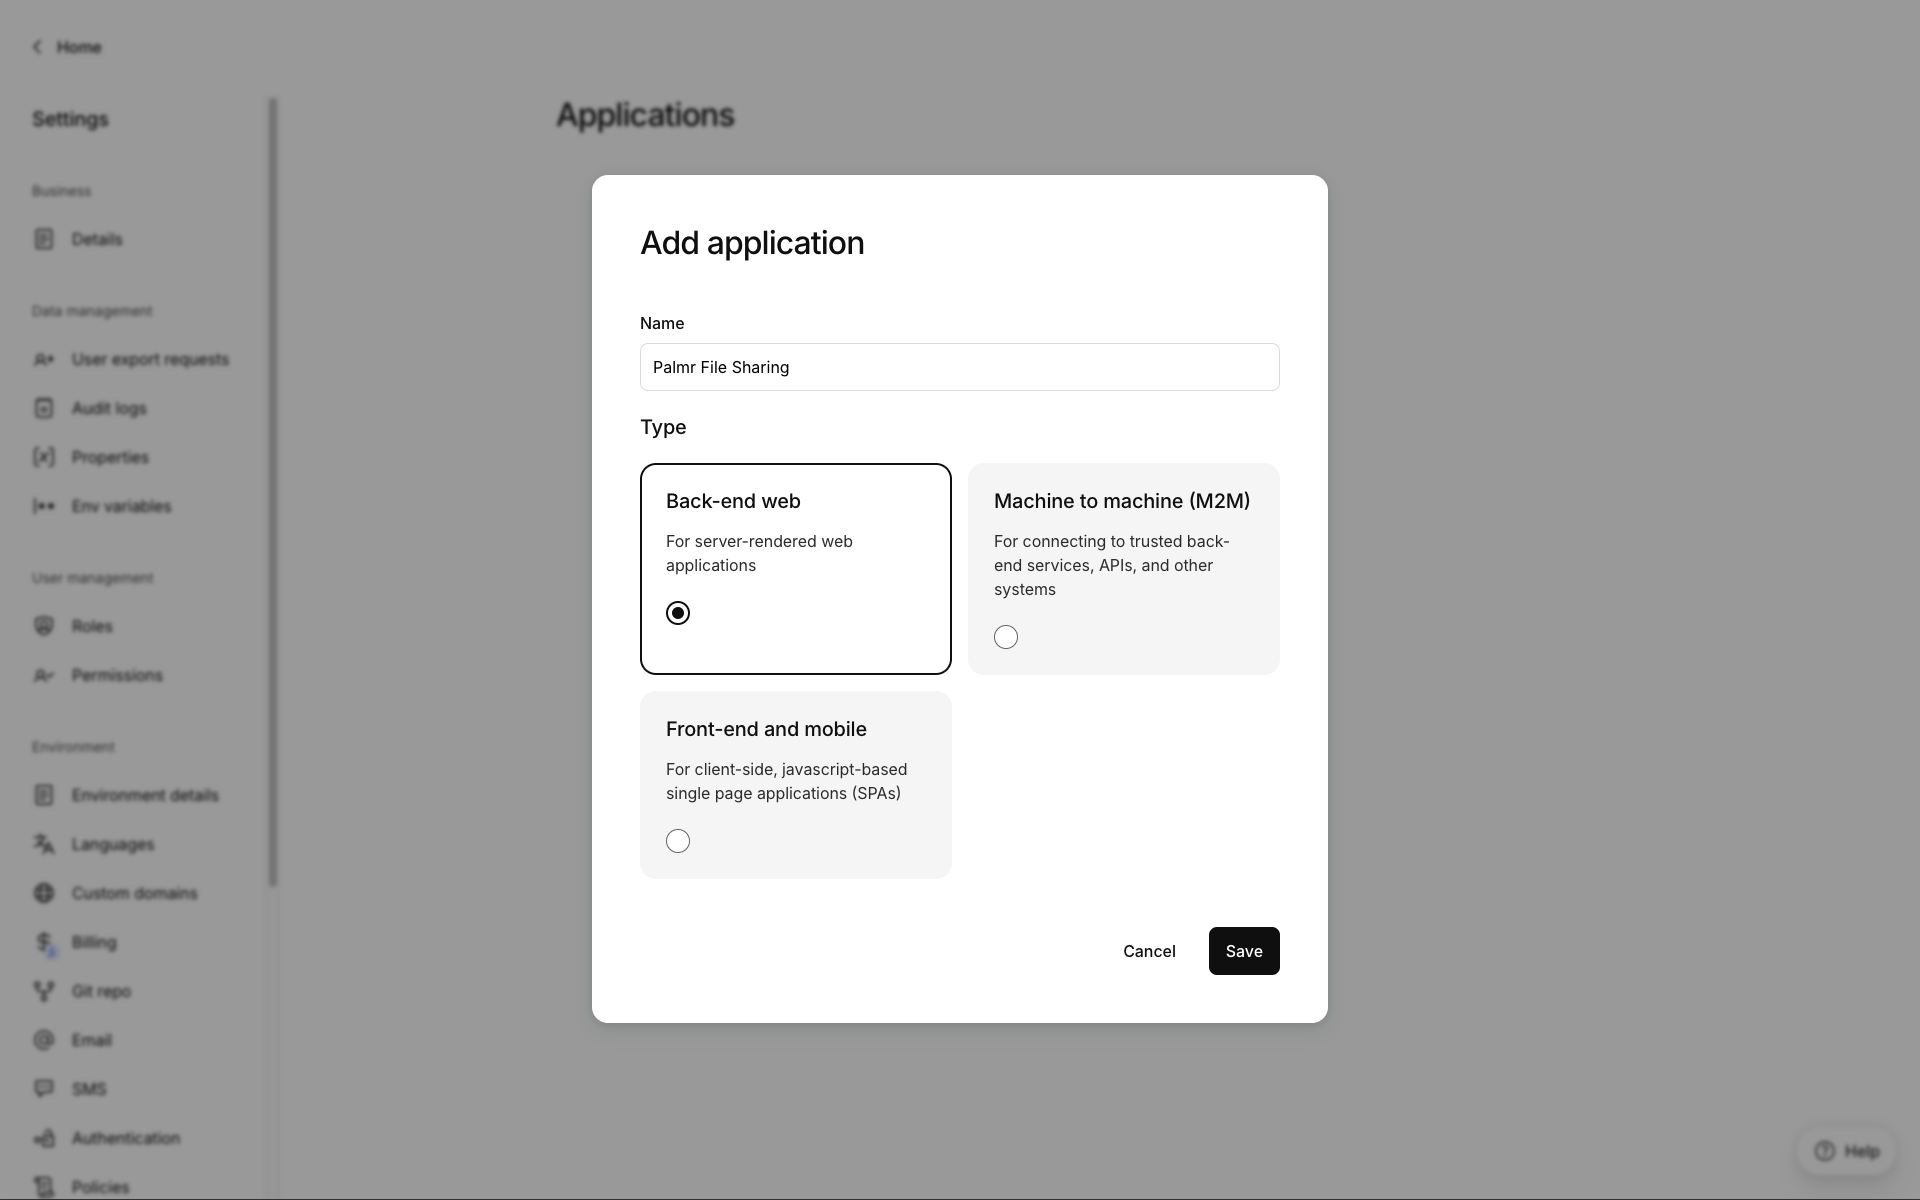
- Create application: Click "Save" to generate your Kinde application
Configuring application settings
After creating your application, you'll be redirected to the application page.

Click on the "Details" tab on the sidebar to configure the application settings and get the OAuth credentials.
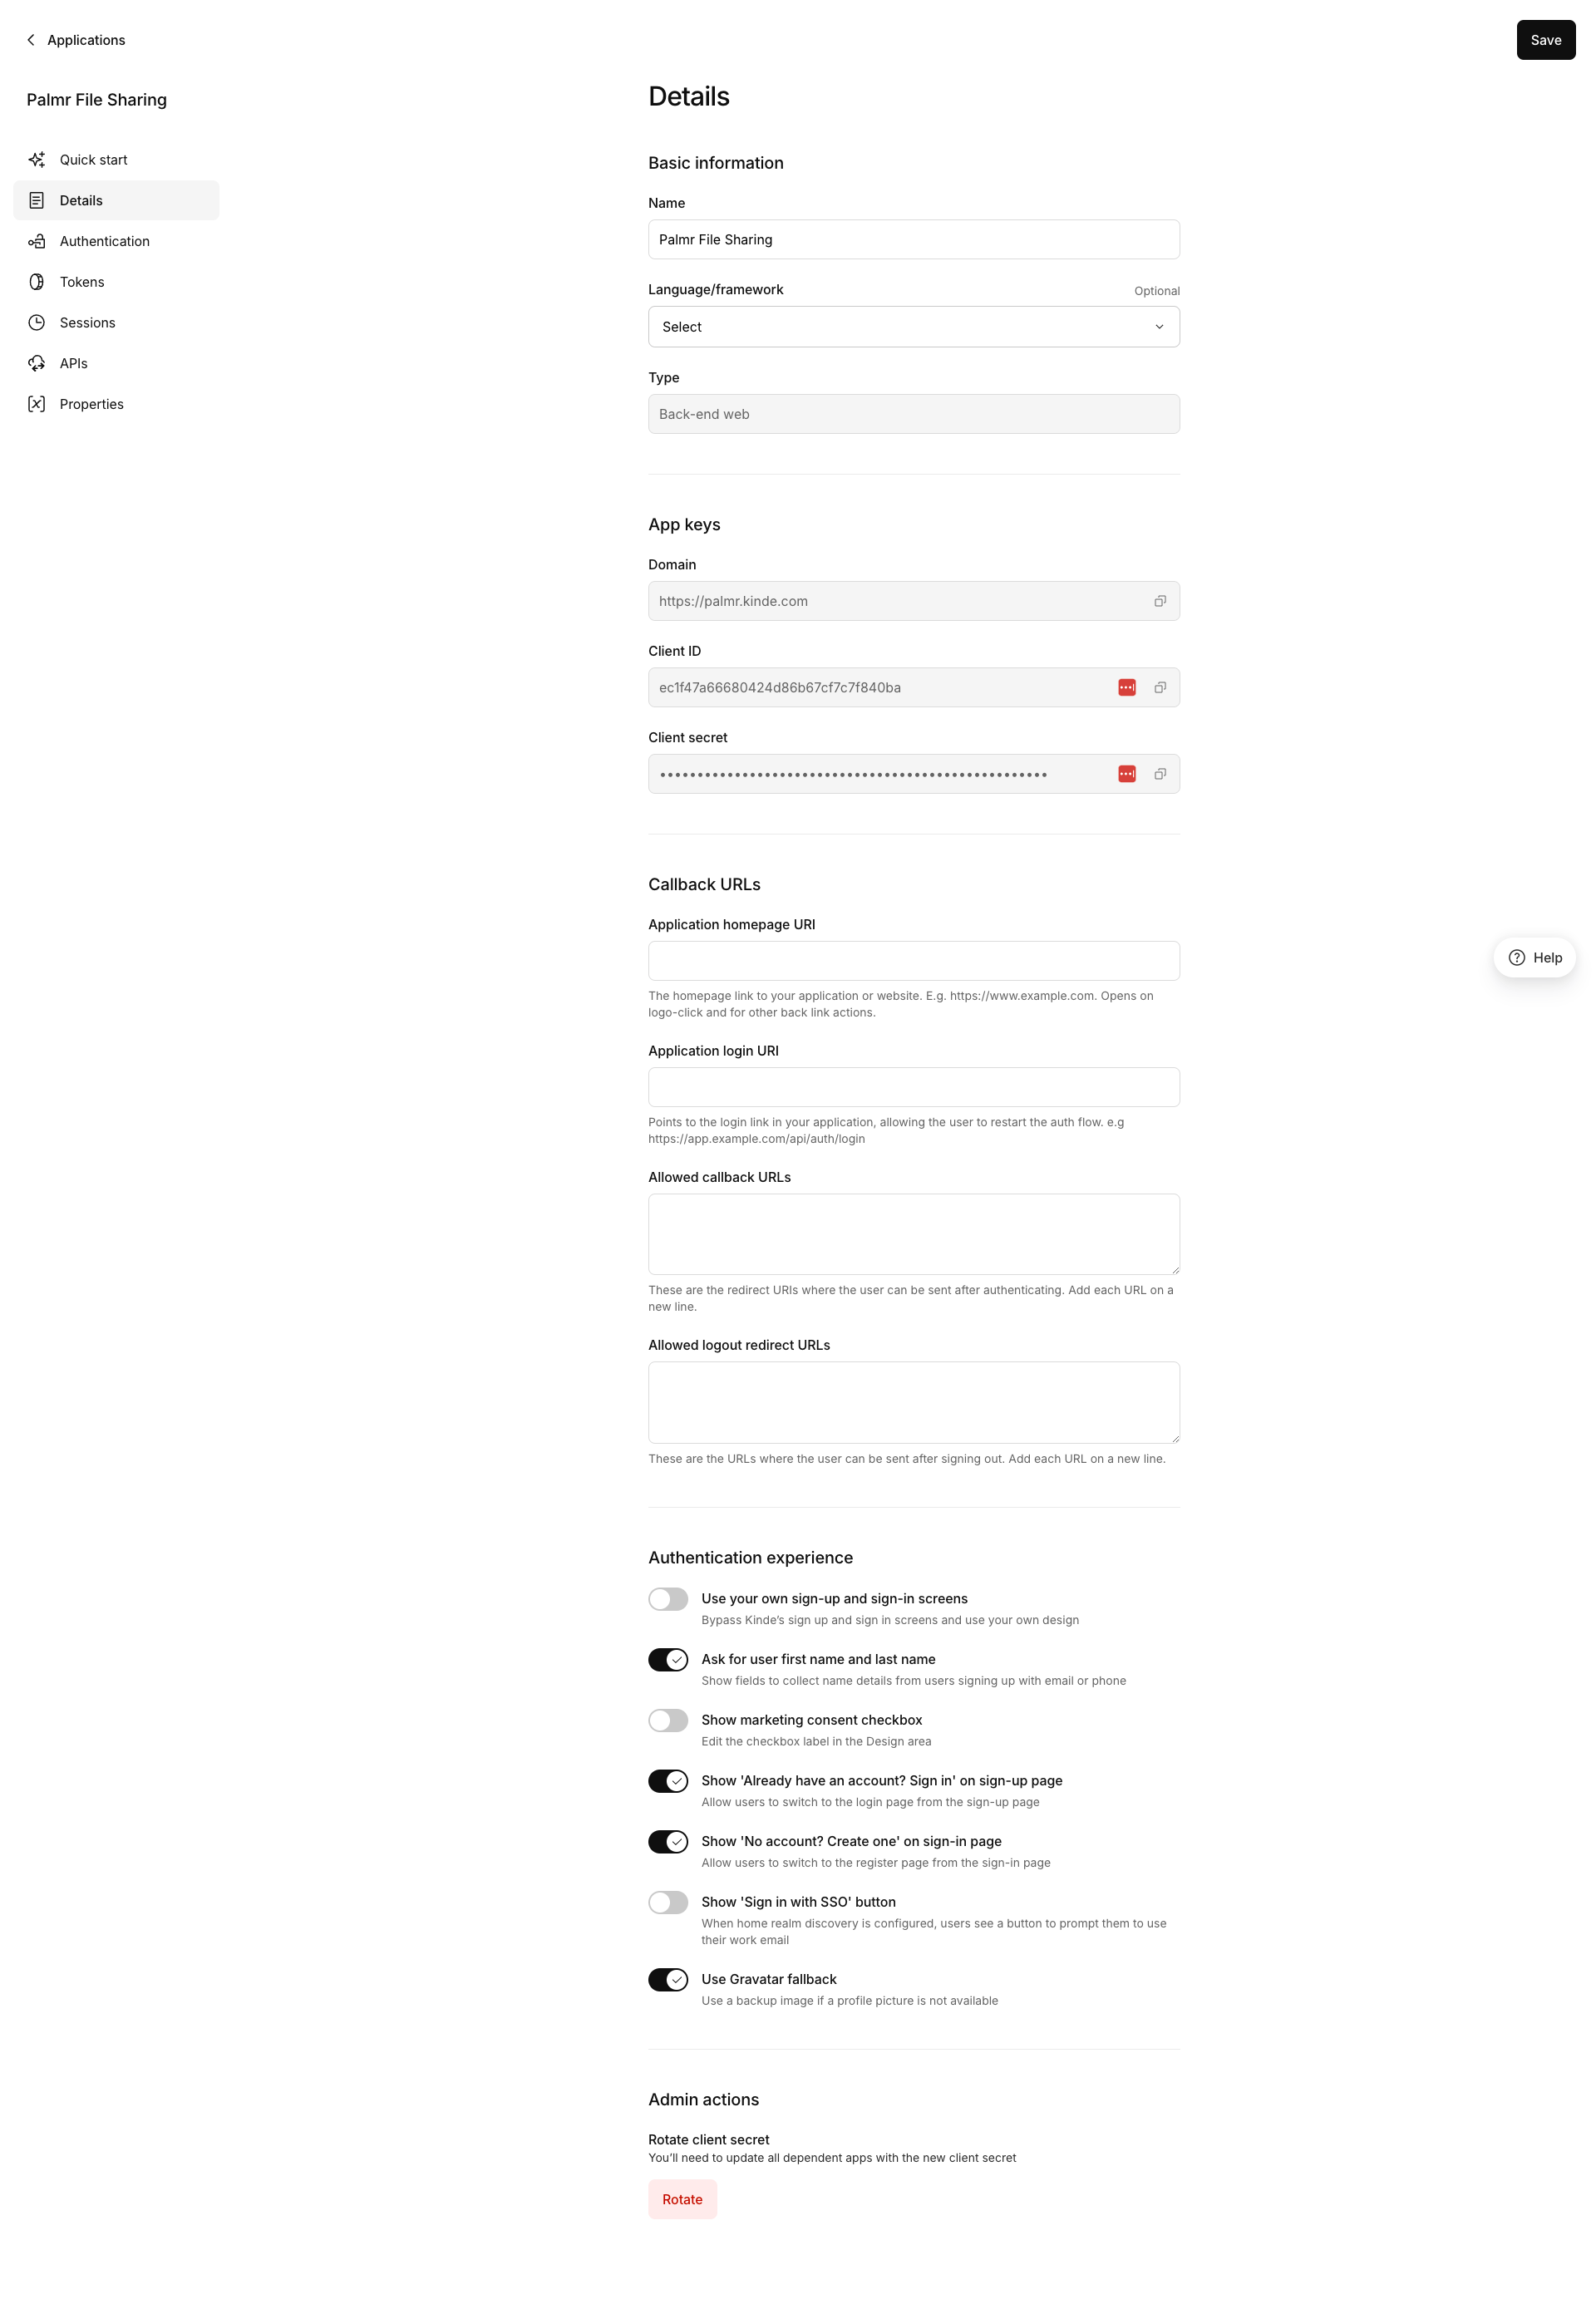
This is a fake application, you have to use your own.
Getting OAuth credentials
Now you'll get the credentials that Palmr will use to authenticate with Kinde.
-
Copy Domain: Note your Kinde domain (e.g.,
your-tenant.kinde.com) -
Copy Client ID: The Client ID is displayed in the "Client ID" field
-
Copy Client Secret: The Client Secret is displayed in the "Client secret" field
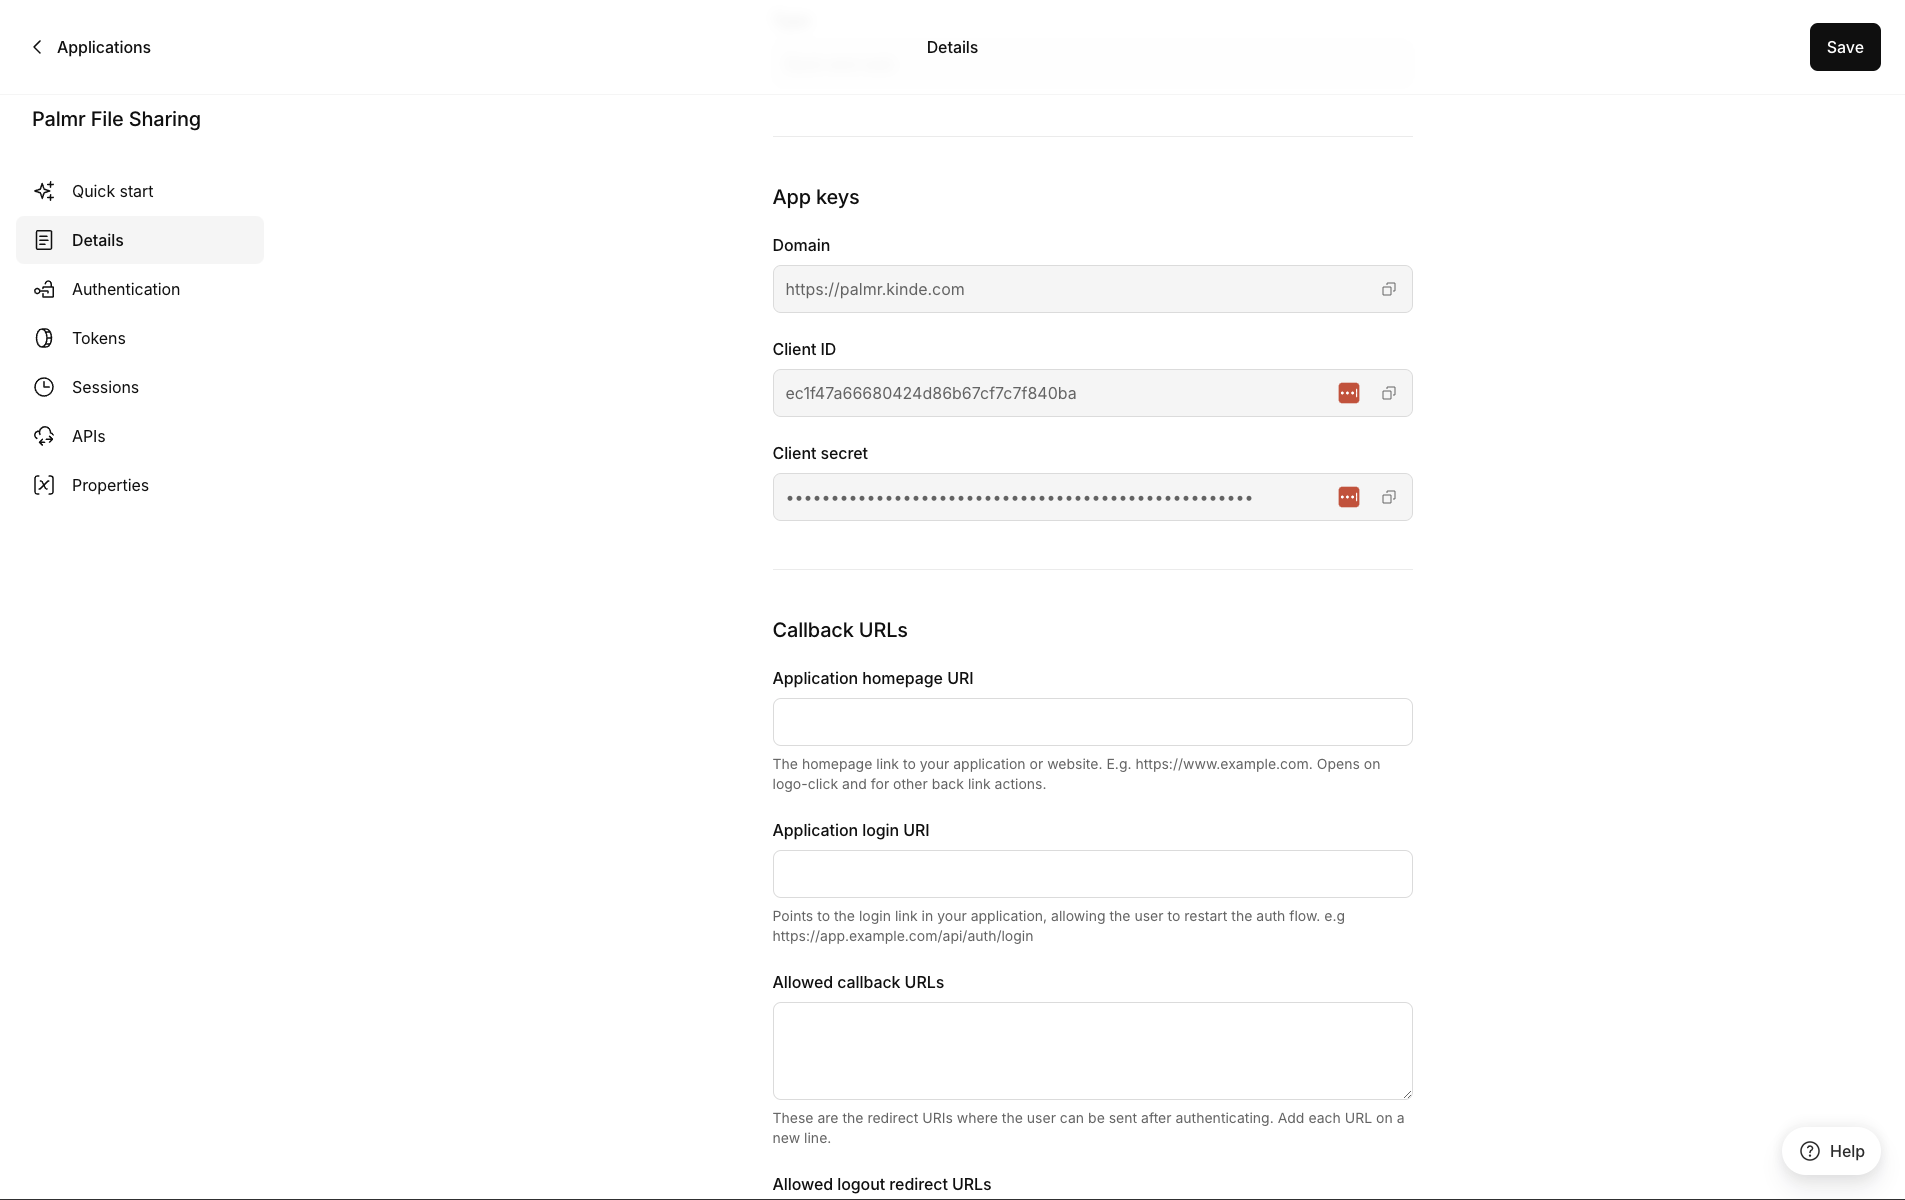
The client ID and client secret shown in the image are examples only (fake credentials). You must use your own credentials from Kinde.
- Save credentials: Copy the Domain, Client ID, and Client Secret for later use
Note: For now you only need this configuration, you can come back here later to configure the application as you want.
###Configure application URLs:
You'll need to configure several URLs in your Kinde application settings. Here's what to add for each environment:
Allowed callback URLs
| Environment | URL |
|---|---|
| Production | https://yourdomain.com/api/auth/providers/kinde/callback |
| Development | http://localhost:3000/api/auth/providers/kinde/callback |
| Custom Port | https://yourdomain.com:5487/api/auth/providers/kinde/callback |
Application homepage URI
| Environment | URL |
|---|---|
| Production | https://yourdomain.com |
| Development | http://localhost:3000 |
| Custom Port | https://yourdomain.com:5487 |
Application login URI
| Environment | URL |
|---|---|
| Production | https://yourdomain.com/login |
| Development | http://localhost:3000/login |
| Custom Port | https://yourdomain.com:5487/login |
Allowed logout redirect URLs
| Environment | URL |
|---|---|
| Production | https://yourdomain.com |
| Development | http://localhost:3000 |
| Custom Port | https://yourdomain.com:5487 |
Note: Replace
yourdomain.comwith your actual domain name in all production and custom port URLs. Note: You can add multiple redirect URIs for different environments (development, staging, production).
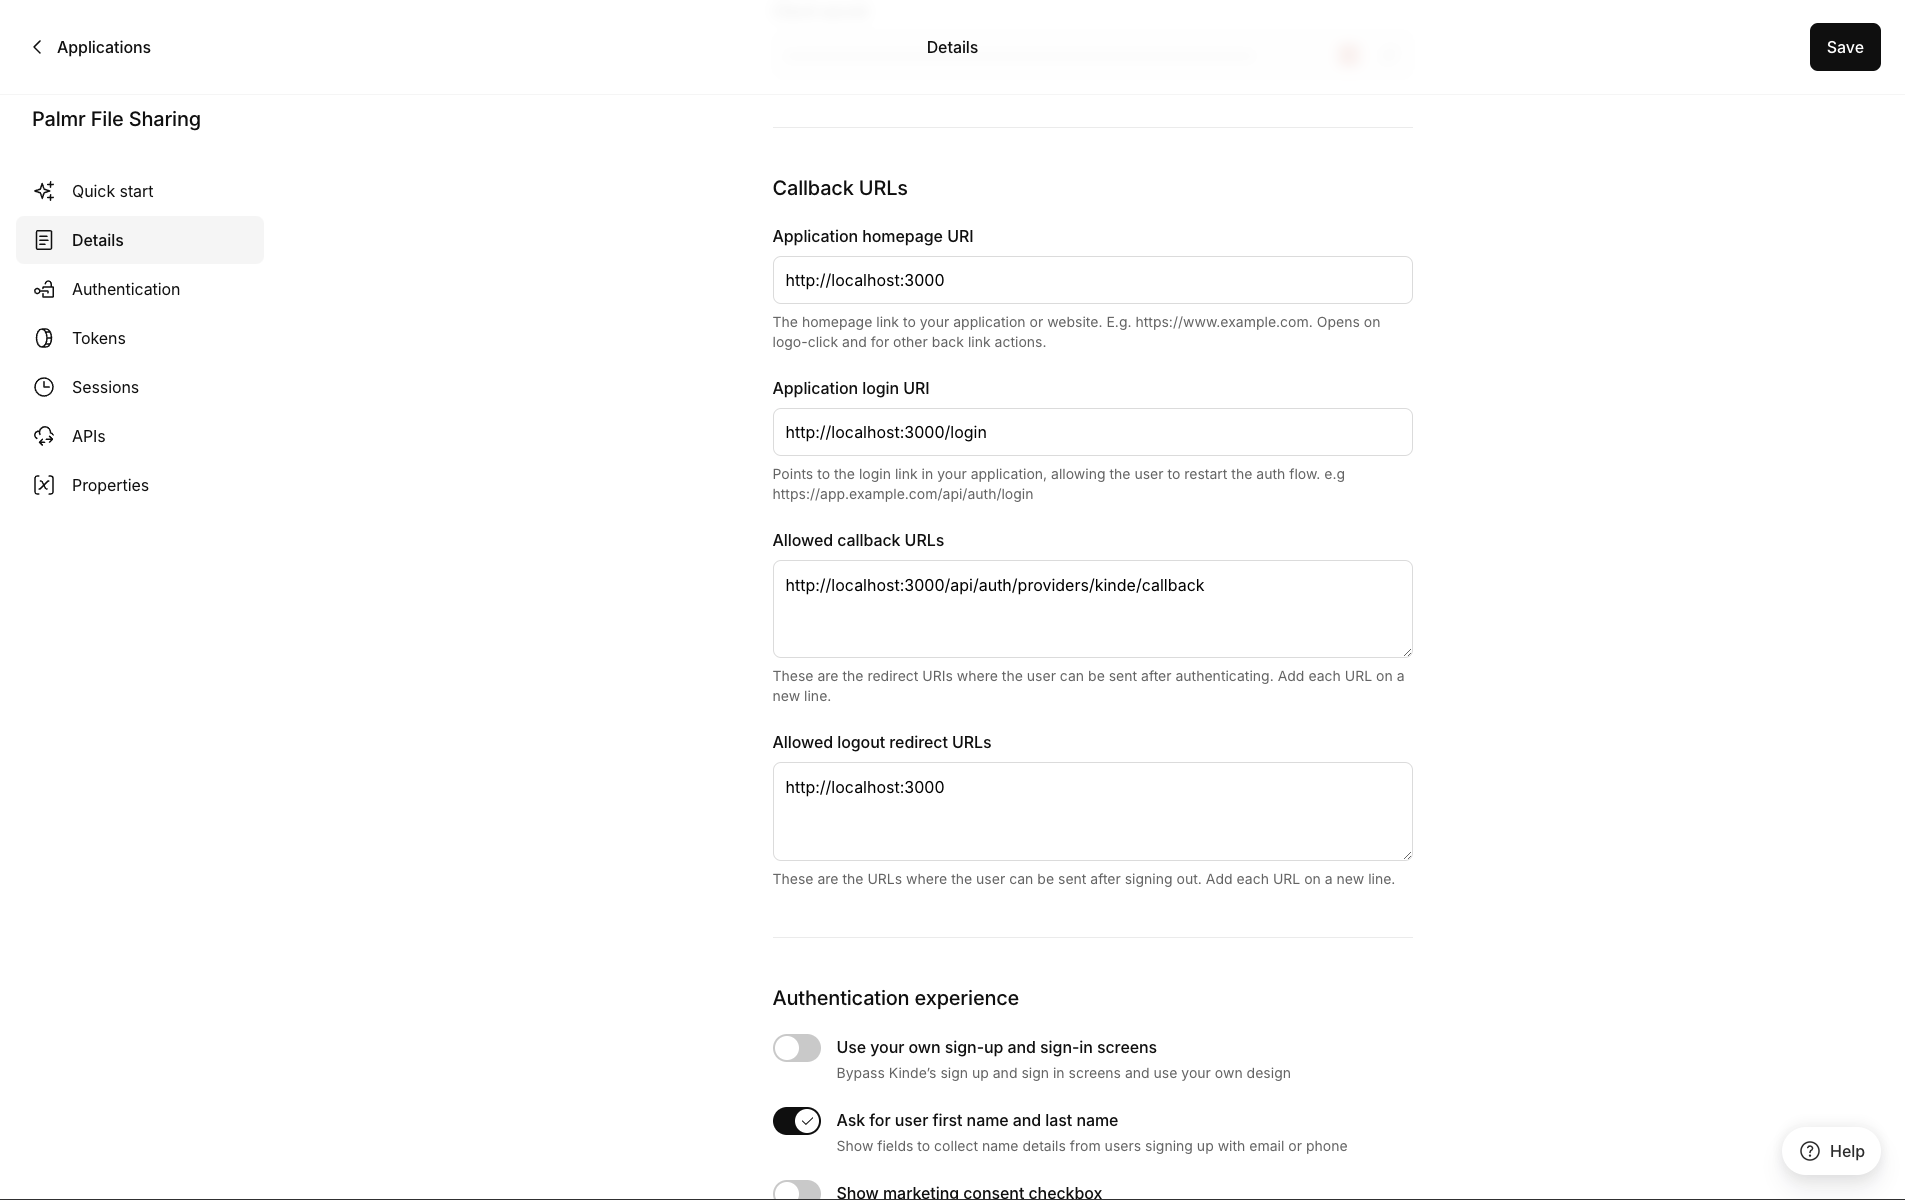
This is a fake application, you have to use your own.
- Save changes: Click "Save" on the top right corner to apply your configuration
Configuring Palmr
Accessing OIDC settings
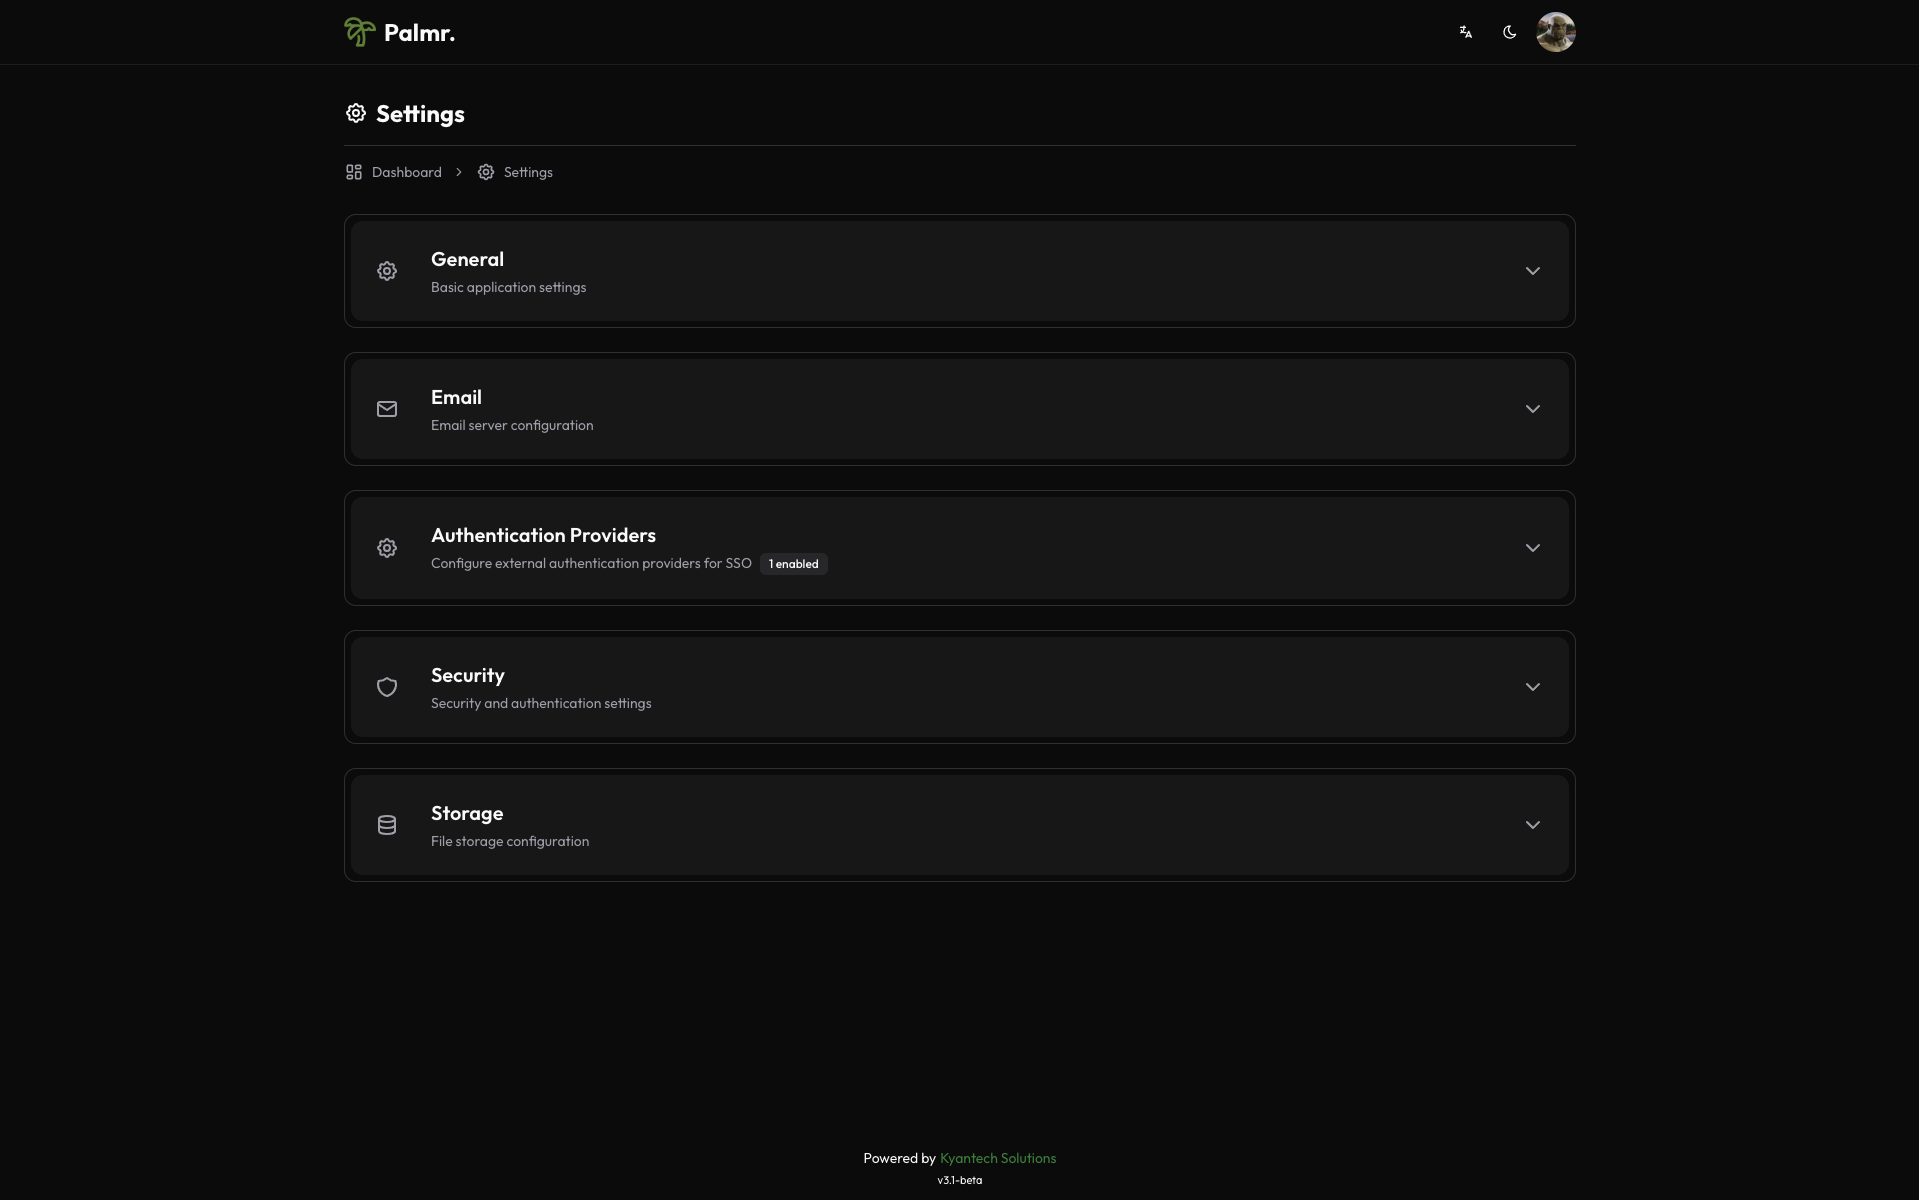
To configure Kinde Auth authentication in Palmr, you need administrator access to the settings panel.
-
Login as administrator: Sign in to Palmr with an admin account
-
Access settings: Click your profile picture in the header and select Settings
-
Navigate to authentication: Find and click on the Authentication Providers configuration section
Enabling Kinde Auth provider
Kinde Auth comes pre-configured as an official provider, so the setup process is streamlined.
-
Locate Kinde Auth provider: Find Kinde Auth in the list of available providers
-
Enable the provider: Toggle the status to Enabled
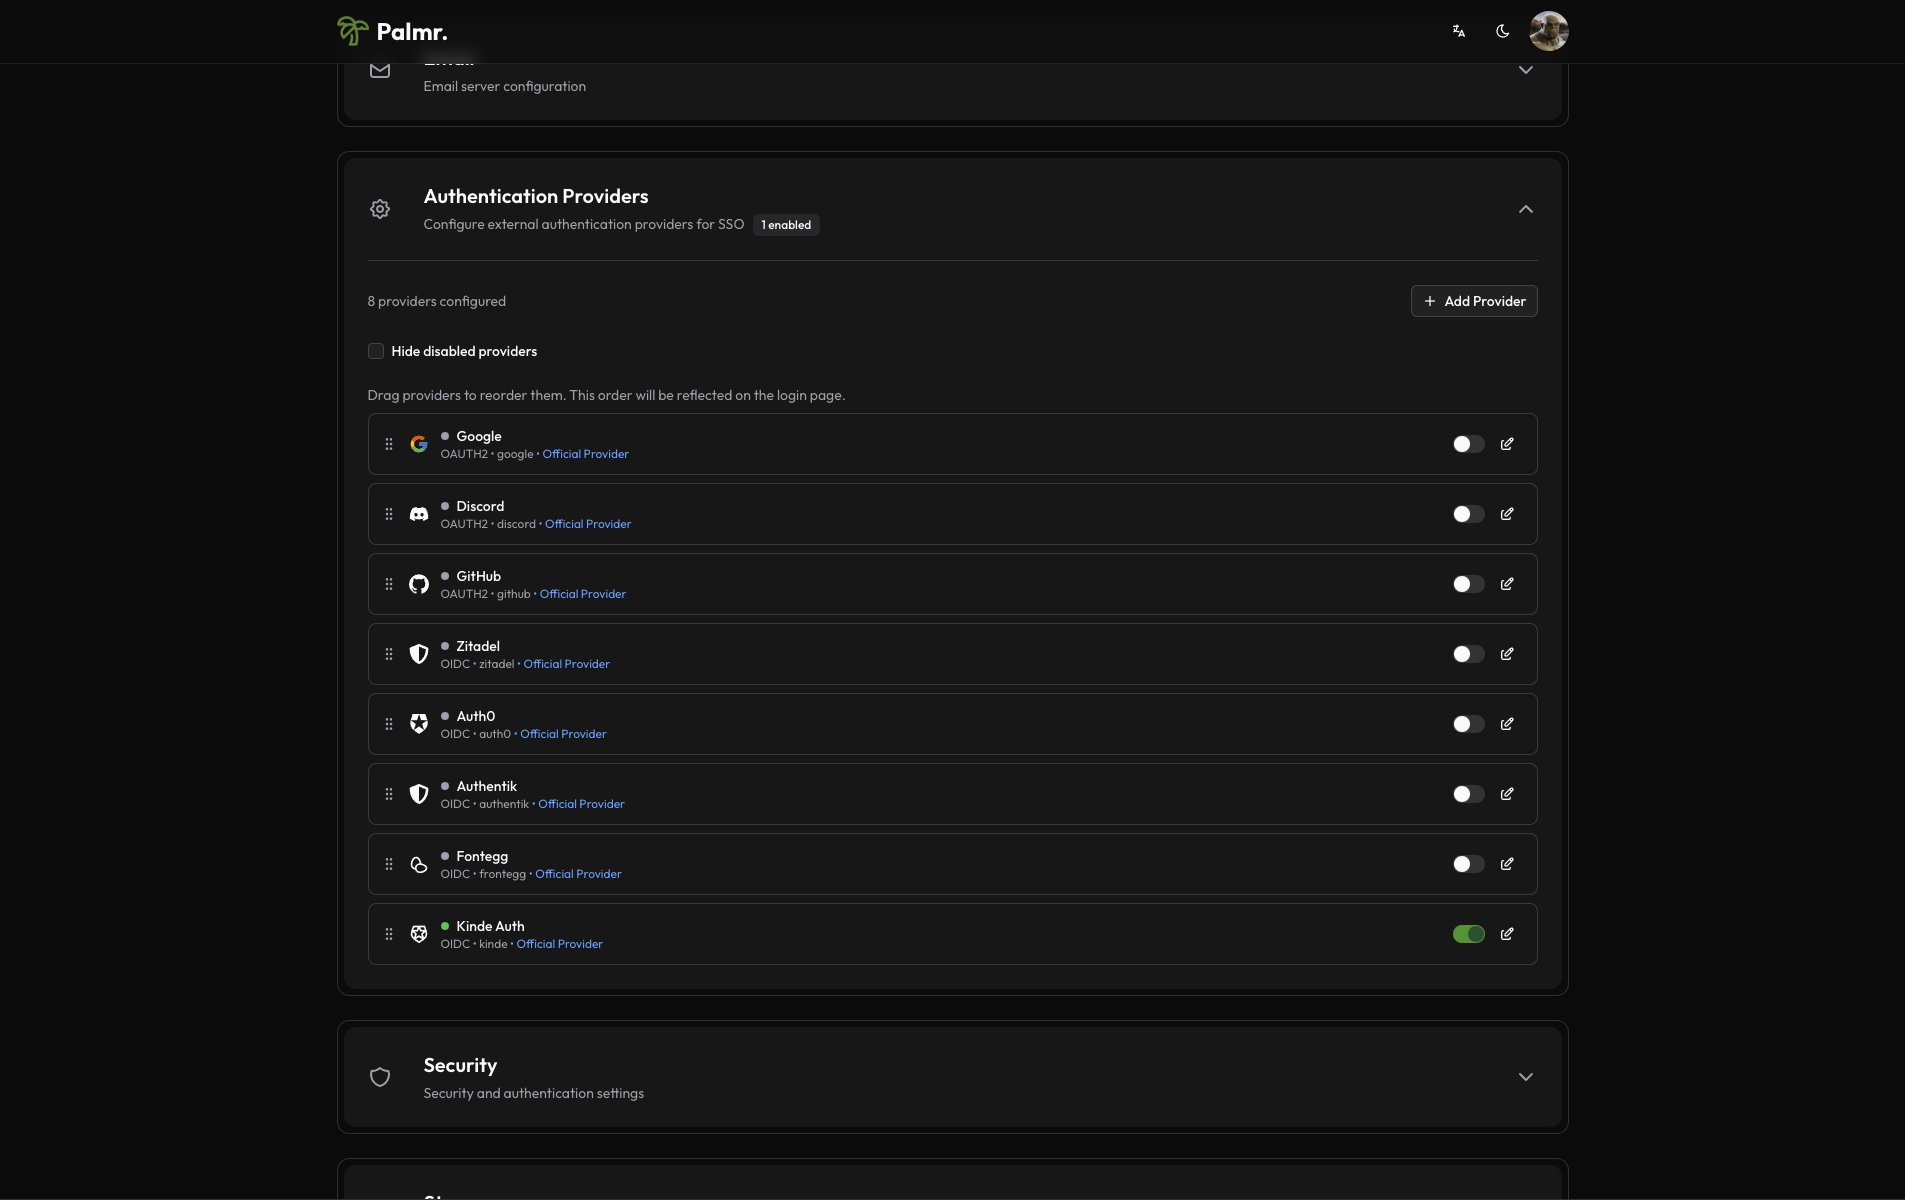
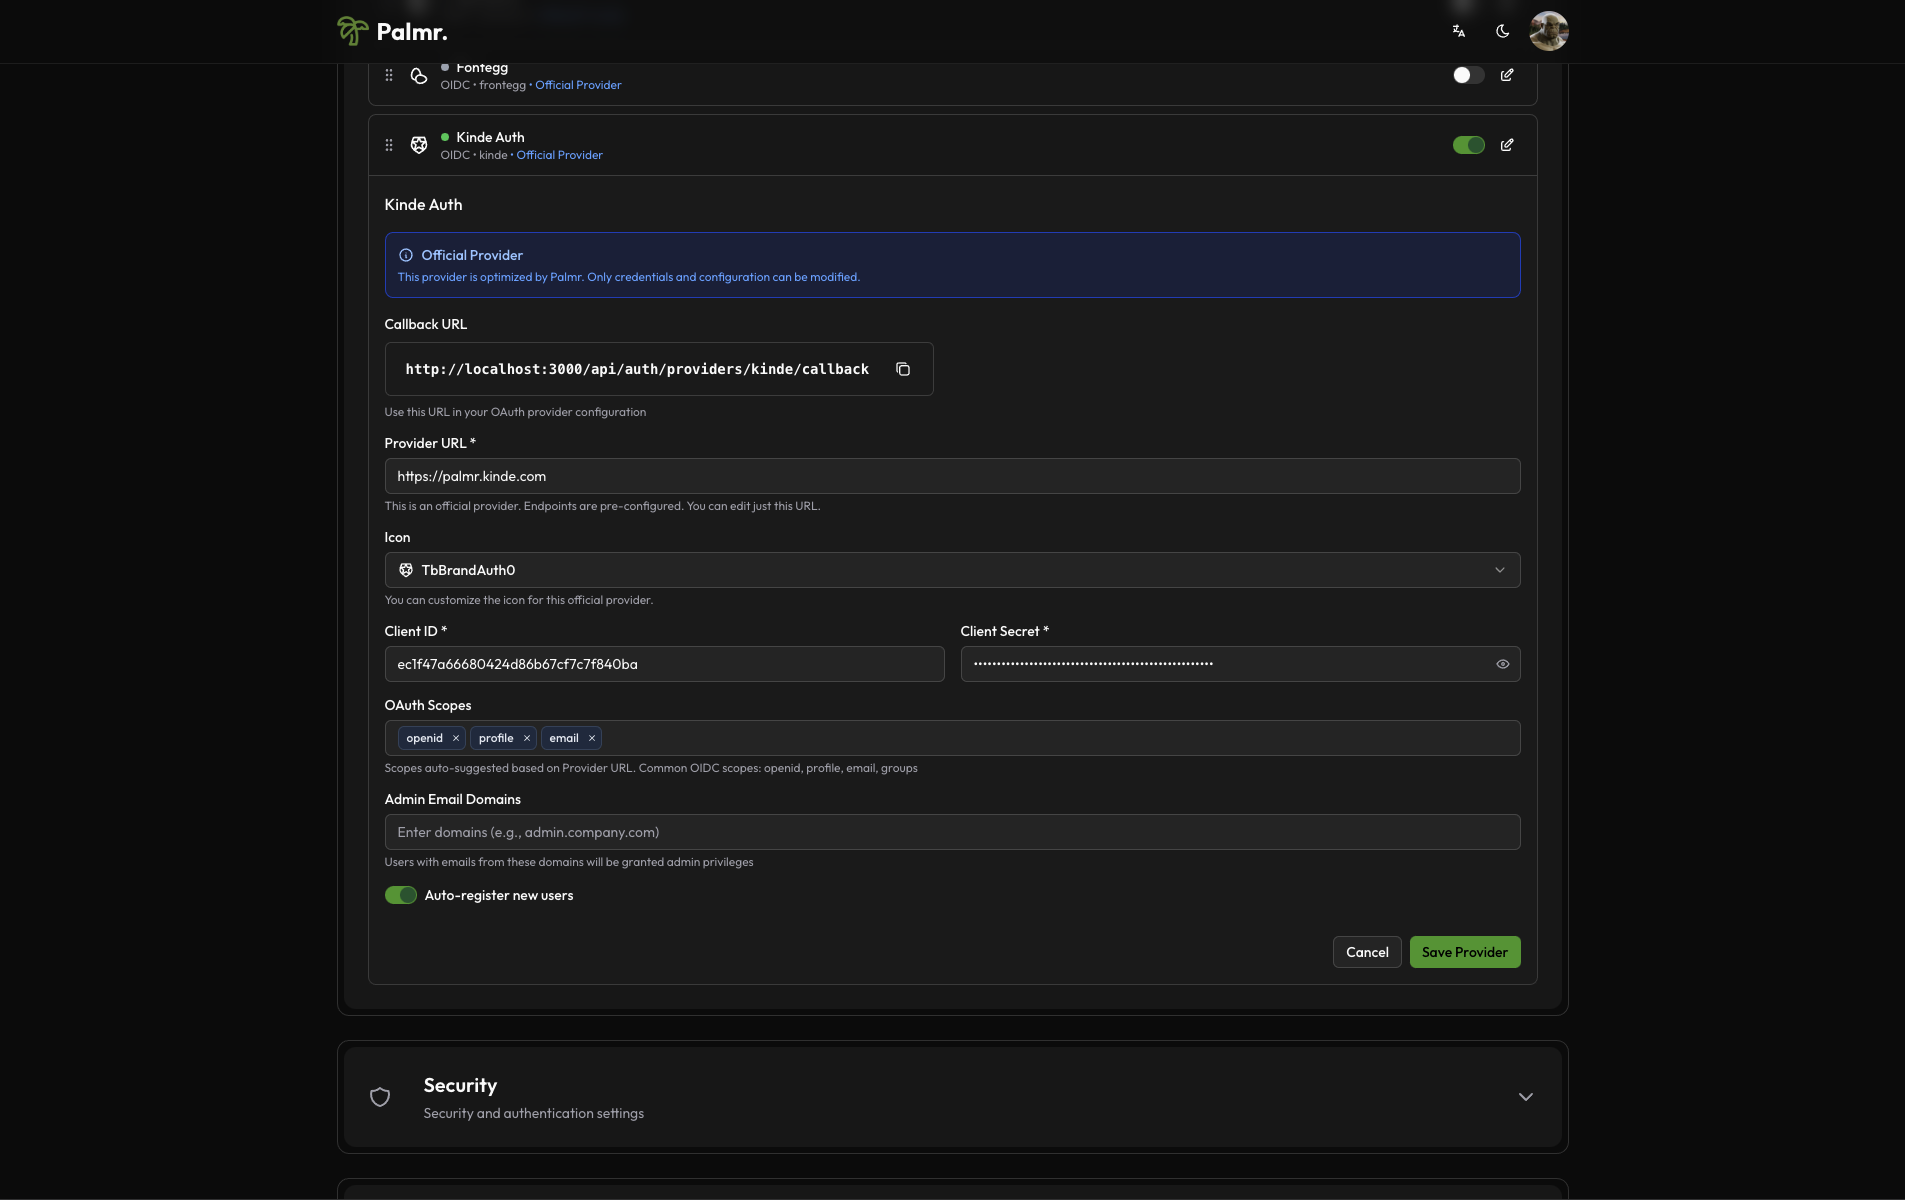
After enabling the provider, click on the pen icon to configure the provider.
- Configure credentials:
- Provider URL: Paste your Kinde domain (e.g.,
https://your-tenant.kinde.com) - Client ID: Paste the Client ID from Kinde application
- Client Secret: Paste the Client Secret from Kinde application
- Scopes: Add the scopes you want to use. The default scopes are
openid,profile, andemail. You don't need change this if you are not sure.
- Provider URL: Paste your Kinde domain (e.g.,
This is a fake application, you have to use your own.
Advanced configuration options
Configure additional settings to customize the authentication behavior:
Auto Registration: Enable this to automatically create user accounts when someone authenticates for the first time.
Sort Order: Control where the Kinde Auth login button appears relative to other authentication providers.
Icon: you can choose the icon you want to use for the Kinde Auth login button (default is FaKey).
Developer tip: Kinde Auth authentication works great for modern applications requiring excellent developer experience and scalable authentication infrastructure.
Account linking
By default, if a user is already registered in Palmr with their Kinde Auth email, they will be automatically linked to their Palmr account.
Note: You can't disable account linking. If you want to unlink a user from their Kinde Auth account, you need to delete the user from Palmr.
Technical configuration
Kinde Auth's technical configuration is handled automatically, but understanding the setup can help with troubleshooting:
Field mappings
Palmr automatically maps Kinde Auth user information to local user accounts:
- User ID: Maps from Kinde's
idfield - Email: Maps from Kinde's
preferred_emailfield - Full Name: Maps from Kinde's
first_nameandlast_namefields - First Name: Maps from Kinde's
first_namefield - Last Name: Maps from Kinde's
last_namefield - Avatar: Maps from Kinde's
picturefield - Username: Maps from Kinde's
preferred_usernamefield
Kinde Auth-specific features
- Custom Claims: Can include custom user metadata and app metadata
- Social Logins: Supports integration with various social providers
- Multi-factor Authentication: Supports Kinde's MFA features
- Modern APIs: Clean REST APIs and comprehensive SDKs
- Developer Tools: Excellent documentation and developer experience
Testing the configuration
Verifying the setup
After configuring Kinde Auth authentication, test the integration to ensure everything works correctly.
-
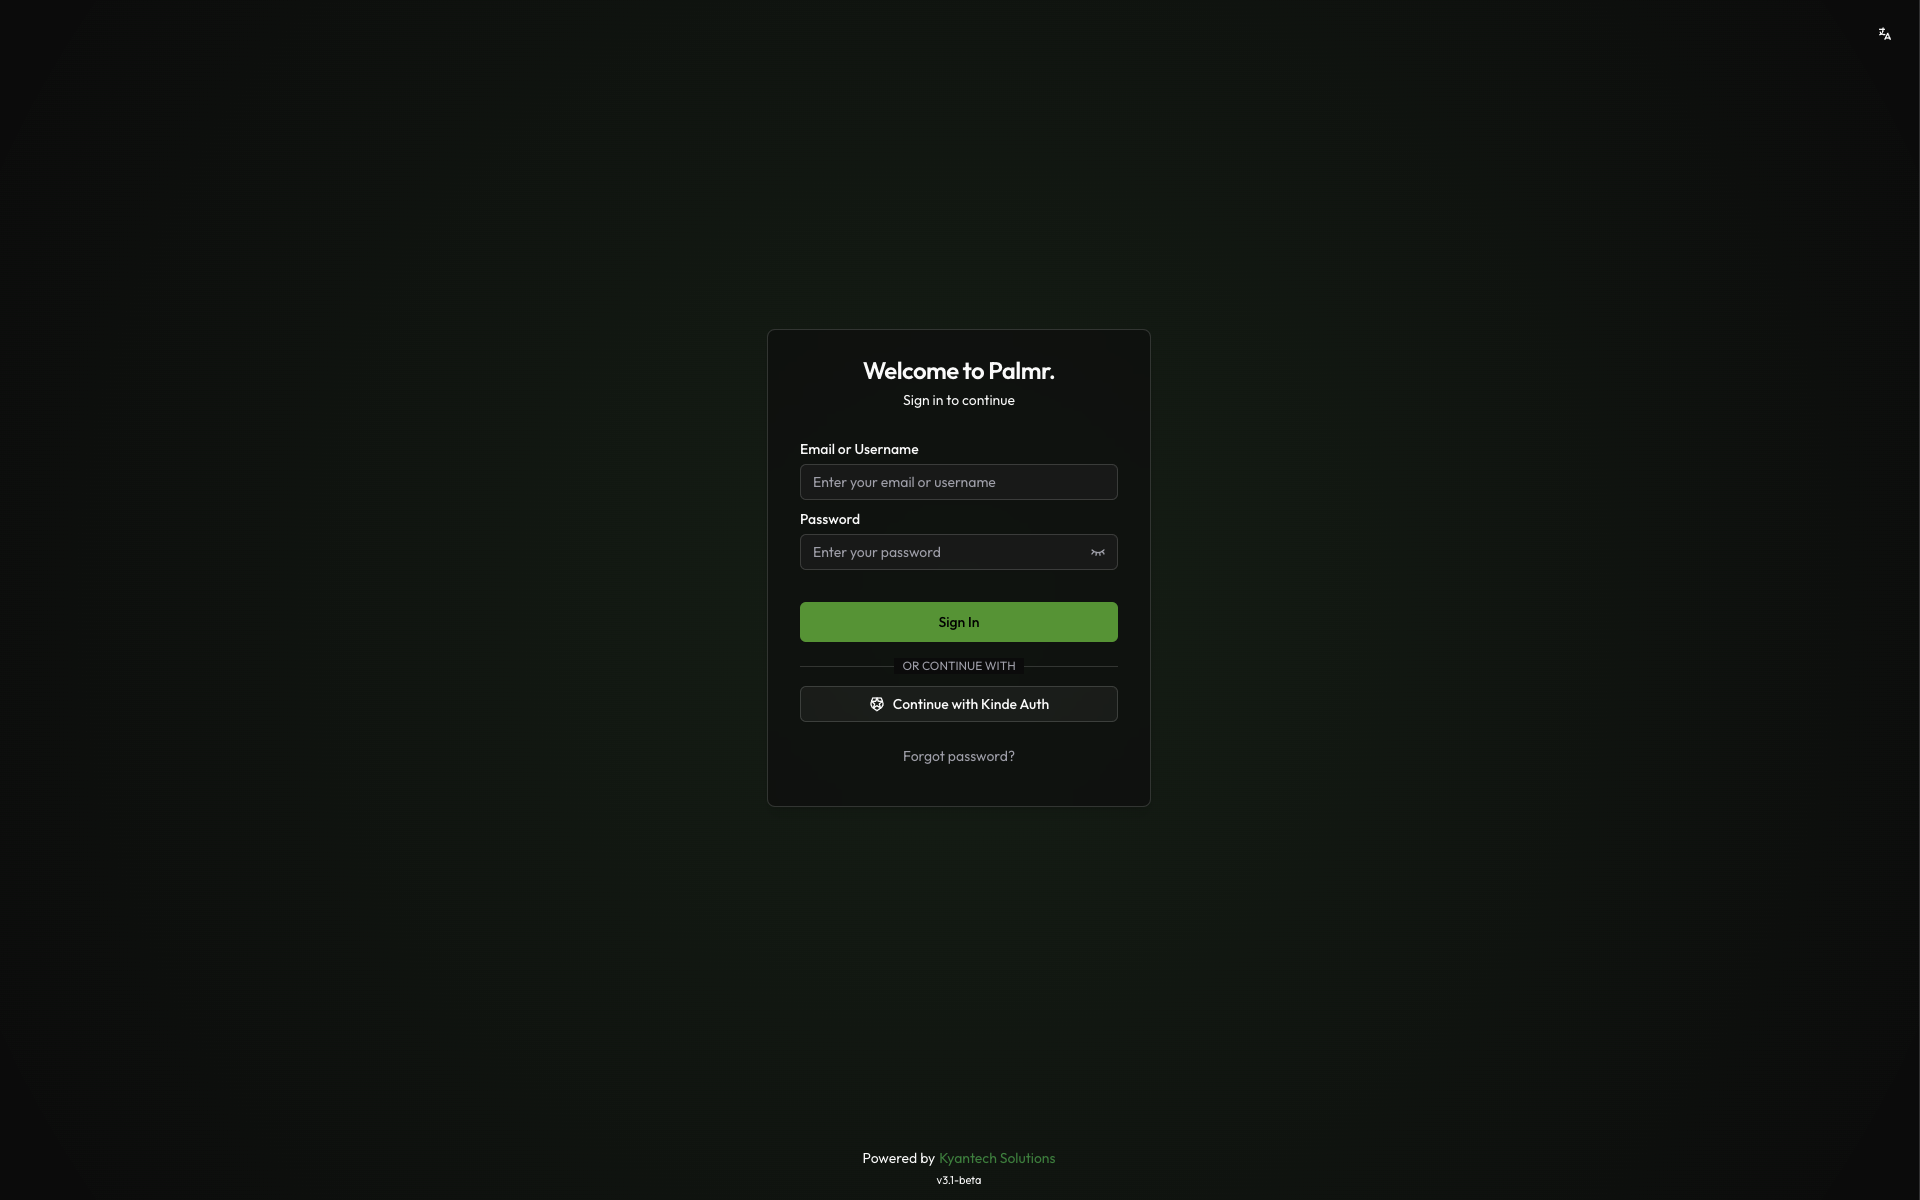
Check login page: Navigate to your Palmr login page and verify the "Sign in with Kinde" button appears
-
Test authentication flow: Click the Kinde Auth sign-in button and complete the authentication process
-
Verify user creation: Confirm that a new user account is created (if auto-registration is enabled)
Login flow verification
The complete authentication process should work as follows:
- User clicks "Sign in with Kinde": The browser redirects to Kinde's authorization page
- User authenticates: User completes authentication through Kinde (login, MFA, etc.)
- Kinde redirects back to Palmr: User returns to Palmr with authentication tokens
- Palmr creates or updates user: User account is automatically managed with Kinde information
- User accesses Palmr: User is logged in with their Kinde identity
Troubleshooting common issues
Redirect URI mismatch error
Error message: invalid_redirect_uri
Cause: The redirect URI in your request doesn't match what's configured in Kinde application.
Solution:
- Check the exact URL in the error message
- Add this exact URL to your Kinde application's redirect URIs
- Ensure you include the correct protocol (http/https) and port
- Remove any trailing slashes unless they're in the callback URL
Access denied error
Error message: access_denied
Cause: User denied permissions or the application isn't properly configured.
Solution:
- Verify that your Kinde application requests the correct scopes
- Check that users are granting permissions during the authorization flow
- Ensure your application is not restricted or disabled
- Verify the application has proper permissions set up
Invalid client error
Error message: invalid_client
Cause: Incorrect Client ID, Client Secret, or Domain.
Solution:
- Double-check that you've copied the credentials correctly from Kinde
- Ensure there are no extra spaces or characters in the credentials
- Verify you're using the correct domain format (e.g.,
your-tenant.kinde.com) - Generate a new Client Secret if necessary
Domain configuration issues
Error message: Domain not found or invalid
Cause: Incorrect Kinde domain or tenant configuration.
Solution:
- Verify your Kinde domain is correct (e.g.,
your-tenant.kinde.com) - Check that your Kinde tenant is active and not suspended
- Ensure you're using the correct region for your tenant
- Verify DNS resolution for your Kinde domain
Custom claims not available
Cause: Custom claims not properly configured in Kinde.
Solution:
- Check Kinde custom claims configuration
- Verify that custom claims are included in the ID token
- Ensure the claims are properly formatted and accessible
- Test with a user that has the expected custom claims
Security best practices
Credential management
- Never expose secrets: Keep your Client Secret secure and never commit it to version control
- Rotate credentials regularly: Generate new Client Secrets periodically for enhanced security
- Use environment variables: Store sensitive configuration in environment variables, not config files
- Monitor access logs: Regularly review authentication logs for suspicious activity
Scope and permission management
- Minimal scopes: Only request
openid,profile, andemailscopes as required by Palmr - User consent: Ensure users understand what permissions they're granting
- Regular audits: Review which users have connected their Kinde Auth accounts
- Access reviews: Periodically check user access and remove inactive accounts
Production considerations
- Use HTTPS: Always use HTTPS in production environments
- Configure proper domains: Use production domains in Kinde application settings
- Test thoroughly: Verify the complete authentication flow before going live
- Plan for failures: Have fallback authentication methods available
Next steps
With Kinde Auth authentication configured, you might want to:
- Configure additional providers: Set up other OIDC providers for more authentication options
- Customize user management: Fine-tune auto-registration and admin assignment rules
- Review security settings: Ensure your authentication setup meets your security requirements
- Monitor usage: Keep track of authentication patterns and user activity
For more information about OIDC authentication in Palmr, see the OIDC Authentication overview.